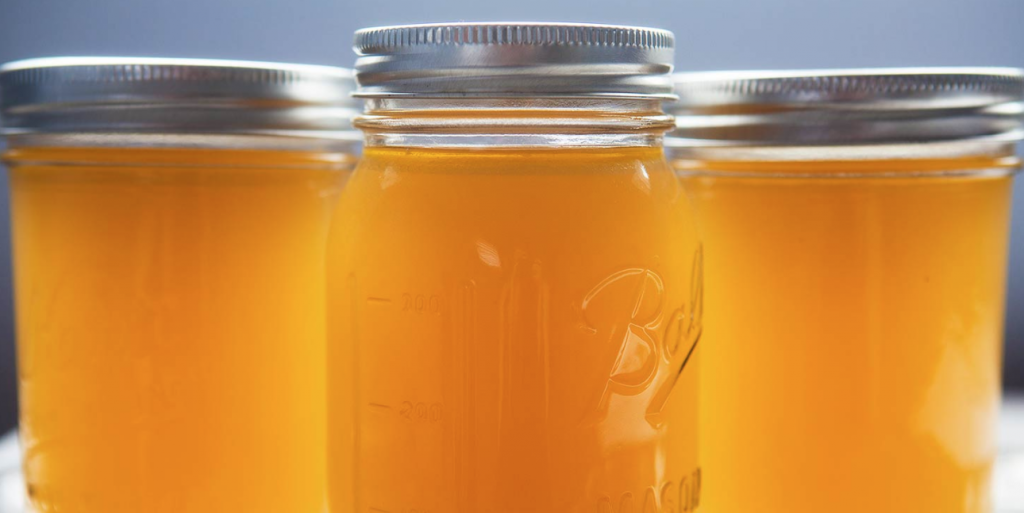
Most people opt to buy chicken stock from the store and add them to their pantries because products are so inexpensive and readily-available. However, making your own chicken stock has a number of advantages that are worth considering. You can have greater control over the ingredients, you don’t have to worry about additives or preservatives, and you can even slightly-alter the taste to your liking.
It’s also pretty easy to preserve stock, and you only need to follow some basic guidelines in order to do it properly. Take a look at the recipe below, and see how it’s not only a good guide to follow, but it will also give you some tasty broth as well.
Ingredients:
3-5lb whole chicken
2 medium-large onions
2-4 stalks of celery
2 bay leaves
Small handful of peppercorns
1-2 tablespoons of salt
16-18 cups of water
Getting Started
The first step is to cut the chicken into large pieces instead of throwing it whole into the stockpot. This will infuse the stock with more flavor while decreasing overall cooking time as well. Quarter the onions, cut the celery into 2-3 inch long pieces, and put all of the ingredients into your stockpot. Add in the water, bring to a boil, reduce to a simmer, cover, and let the stock cook for at least two hours or until the chicken has cooked through.
When finished, remove from heat and skim off any foam that has formed on top of the liquid. Next, take out the chicken before straining the stock through a sieve a couple of times. Refrigerate the stock until the fat floats to the top and solidifies before scraping and discarding this layer. Place the stock back over heat and bring it to a boil.
While the stock is heating up, warm up your pressure canner and preheat the canning jars, bands and lids. Remove the stock from heat after it reaches a boil and carefully ladle it into your canning jars, and fill each jar until an inch of headspace remains. When finished, remove any air bubbles, and add more stock if necessary to maintain headspace before wiping down the rims with a damp towel to remove any gunk or debris. Attach and tighten the lids and bands before placing the jars into the pressure canner.
Secure the lid on the canner, bring up the heat, and keep the vent holes open until steam flows out for 10-15 minutes. Close the vent holes, attach the gauge and start the processing timer once the canner has fully-pressurized. Process pint jars at 10PSI for 20 minutes, and quarts at 10PSI for 25, adjusting for altitude. When finished, turn off the heat, depressurize the canner, remove the lid, take out the jars, and let them stand at room temperature for 24 hours.
When finished, check each jar for damage and seal quality before labeling, dating and storing the stock in a cool, dry place. Properly-sealed jars can last upward of two years if stored under optimal conditions.
Feel free to experiment with different seasonings in order to create a stock that suites your tastes and preferences, and you can also follow the same process for canning turkey, duck or goose stock as well. While this may be more complicated than going to the store and grabbing some pre-made stock, you’ll be amazed at the difference between homemade and commercial products, and chances are that the end result will be worth the effort.

