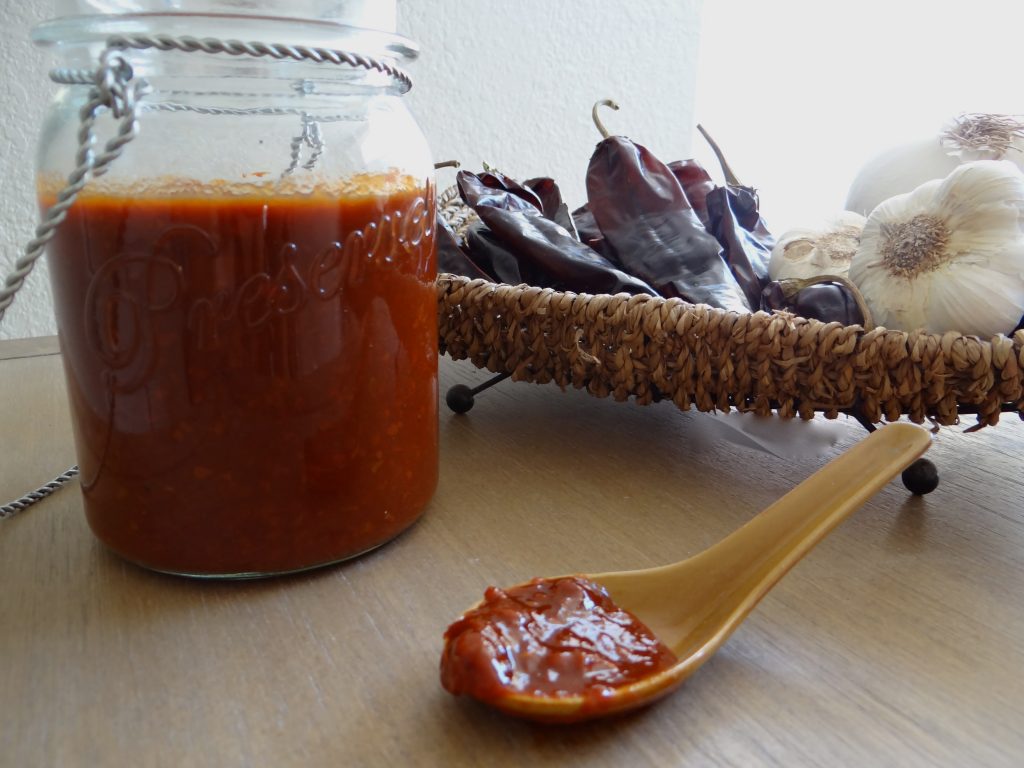
Believe it or not, most well-stocked pantries or emergency stockpiles already include the basic ingredients that go into a lot of Mexican food favorites. While you may not be making burritos or hard-shell tacos during a survival situation, you can still improvise and whip some meals that have some flavorful kick to them. One of the best ways to add some Latin zing is by stocking up on some sauces and salsas, and a good enchilada sauce is definitely something that you’ll be glad you have on hand later. Here’s a simple recipe that you can whip up without a lot of effort and store over the long term.
Basic Ingredients:
20 lbs of tomatoes
1 large onion
1 large bulb of garlic
5 tablespoons of chili powder
2-3 tablespoons of salt
Hot peppers to taste
Keep in mind that you can add any ingredient that you like as long as you have these basics covered. You can also adjust the amount of chili powder and peppers to your liking, so feel free to experiment with different combinations.
Getting Started
The first step is to blanch the tomatoes in order to make the skins easier to remove. Place the tomatoes in boiling water for about 30 seconds to a minute before removing and immediately putting them in ice water. Let them cool and the skins should peel right off. The next step is to prepare your pressure and pint-sized canning jars and let them heat up as you work on the recipe.
Once the tomatoes are blanched, dig or cut out the heads and tails before cutting them into large chunks. Place the pieces in a large stockpot and mash them down with a potato masher while they stew over low heat. Make sure that enough water has been released to prevent the tomatoes from scorching as they soften up, and feel free to add in a little bit of water if necessary. Next, chop up the onion and garlic into small to medium-sized pieces, and mince up your peppers. Add everything to the stockpot, bring to a boil and then reduce heat to a simmer. Stir occasionally while letting the ingredients cook down for about 20 minutes.
Remove from heat when finished, and let the mixture cool for a few minutes before carefully pouring it into a blender. Blend until you end up with a smooth puree, and add a little bit of water if the puree is too thick. No matter how well the mixture is blended, seed and seed bits will remain, so consider using a food mill to remove them if you want a nice, smooth texture.
Processing and Storage
When finished, carefully ladle the sauce into the canning jars and fill until ¼ inch of headspace remains. Remove any excess air bubbles, and add in some extra sauce if necessary in order to maintain headspace. Wipe down the rims and attach and tighten the bands and lids when finished. Place the jars into your canner, attach the lid, bring up the heat, and let the steam vent for 15 minutes before closing everything up and starting the processing timer. Process the jars at 6 PSI for about an hour, but don’t forget to adjust for altitude.
When finished, depressurize and remove the lid before placing the jars on the counter or rack. Let them cool to room temperature before inspecting, labeling and dating the finished product. Store in a cool, dry place, and you can expect to get a shelf life of more than a year if they are being kept in a stable environment.
Try this recipe for yourself, and feel free to share some variations to make it even better. One thing’s for certain, this is a great addition to any pantry or emergency stockpile, and you can take your survival meals to a whole new level as a result.
