How to Can Corn for Long Term Storage

Corn doesn’t get the attention that it deserves, and it also gets a bad rap over misconceptions about the health benefits of this starchy vegetable. Corn is a lot more than “filler food”, and every stockpile should have a supply on hand in order to fulfill an important dietary niche. One of the easiest ways to process and store corn is through canning, and the recipe below illustrates how you can prepare a batch in no time.
Ingredients:
10-20 ears of corn (with husks) for every quart jar
Canning salt
Purified water
Quart jars and lid assemblies
Pressure canner

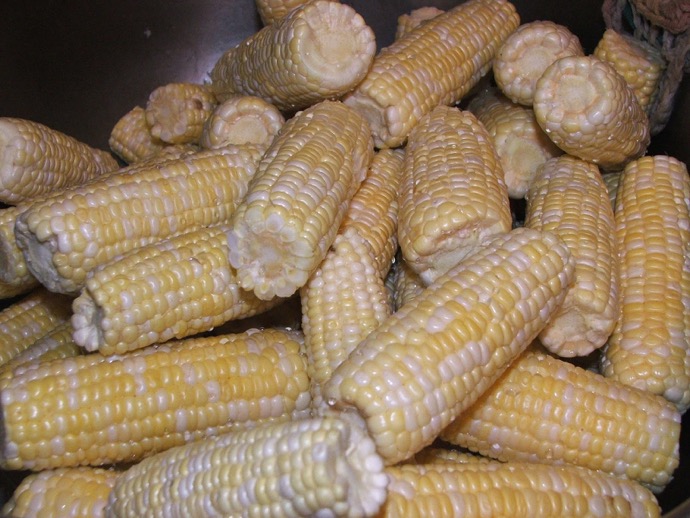
The first thing thing that struck me was that it takes an awful lot of corn to fill up one jar. You can expect to use anywhere from 10-20 ears, depending on their size, for each jar that you plan on packing. It’s important to choose the corn at the right time, when quality products are available in bulk quantities. This will give you the best chance of stocking up and preserving the freshest and most nutritious corn that you can find. Remember that harvest season is in the latter half of the summer and early fall, so plan ahead in order to take advantage of this opportunity.
Preparing the Corn

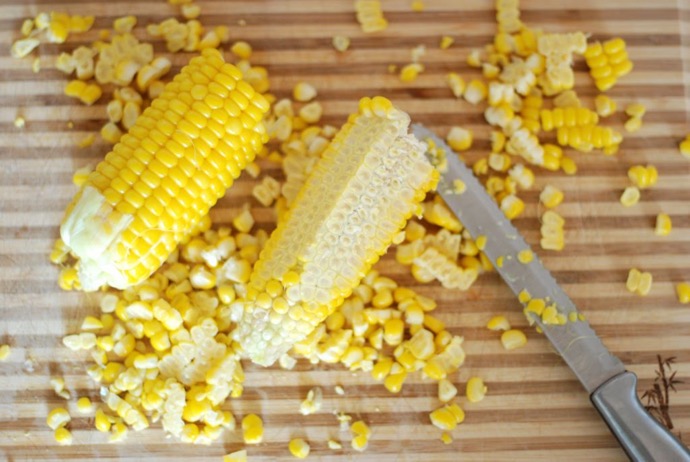
The first step is to remove the corn from the husks and chop or rip off the end pieces. Inspect the cobs to ensure that the kernels are fresh and in good condition. You can cut away any defective areas and continue to work with a less-than-perfect cob. Give them a good rinse and pat them dry before cutting the kernels off of the cob. While you can blanch the whole cob before cutting away the corn, you will use less water and process the corn faster if the kernels are removed beforehand.

Prepare your pressure canner while you also measure the corn and count how many jars you will need. Heat the jars in gently-simmering water while you wait for the pressure canner to warm up. Bring a stockpot of water to a boil. Once the canner is ready, remove the jars from the water and fill with the kernels of corn and ladle in the boiling water until there is an inch of headspace remaining. Squeeze out air bubbles and add corn or water as necessary.
You can also hot-pack the corn by gently simmering the kernels in the stockpot before ladling them (and the boiling water) into the heated canning jars. You will probably end up with a softer and creamier finished product than the cold packed option, so it’s really a matter of preference as to which packing method you prefer.
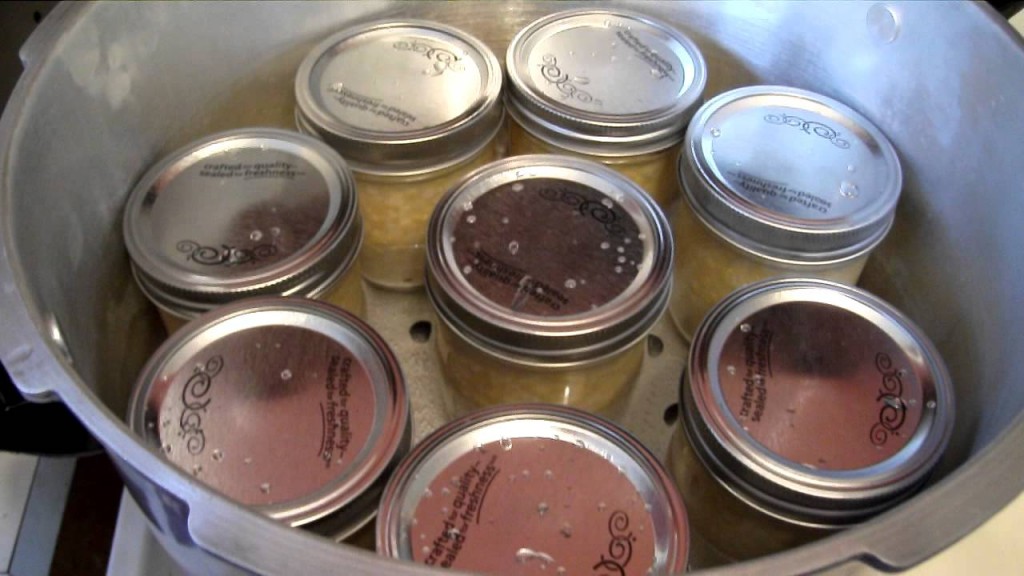
In both cases, wipe down the rims and attach and secure the lid assemblies. Place the jars into the pressure canner, wait for the pressure to equalize, and then start counting the processing time. Expect to process the corn at a minimum of 10PSI for at at least 1 hour and 25 minutes for quart jars and 55 minutes for pints. Adjust for altitude.
Once the time has elapsed, de-pressurize the canner before removing the lid and jars. Set them on the counter and allow them to cool overnight or until they reach room temperature. Check the jars for cracks or defects in the seals before storing them. Make sure they are labeled, dated and rotated in a timely manner in order to prevent spoilage.
Not only corn an excellent carbohydrate, but an ear is also loaded with antioxidants, vitamin C as well as fiber. A couple of ears of corn can provide a quick energy boost while also helping the body to clean and repair cells. Corn is also ready to eat once processed, so you don’t have to worry about any cooking before consumption later. Try to incorporate a good supply of corn in order to compliment your wheat and rice stockpiles, and see how its versatility will help to easily fill an important dietary niche.

