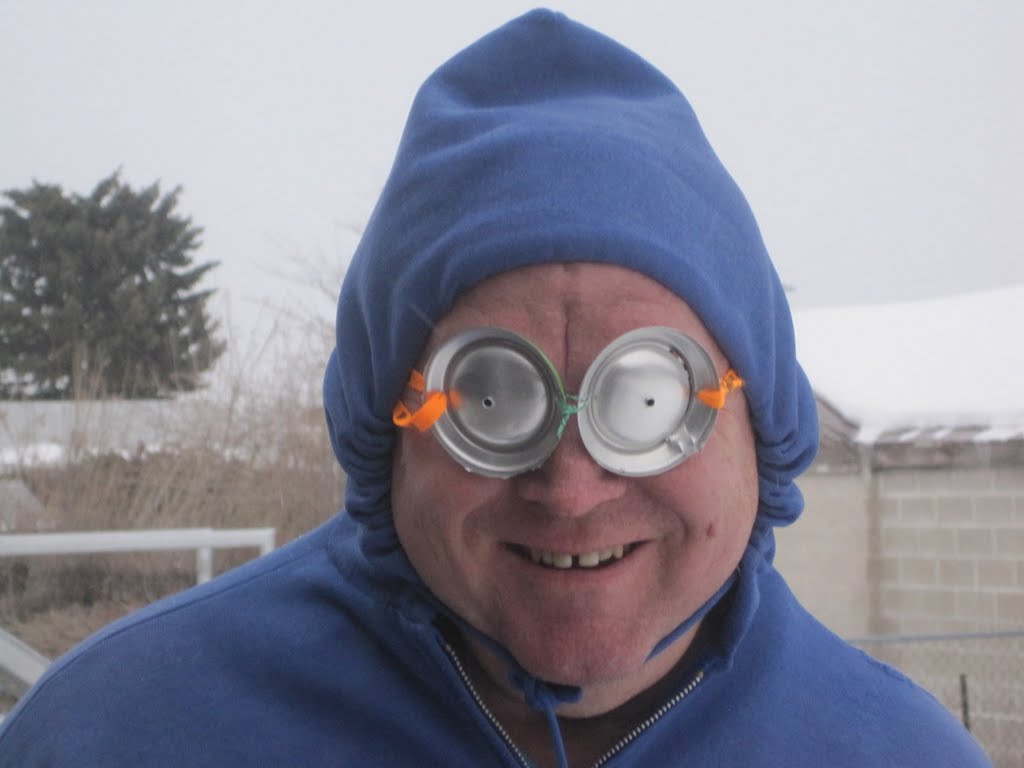
Snow blindness, or photokeratitis, occurs when parts of our eyes are exposed to high-levels of ultraviolet radiation. While this most-commonly associated with reflections on bright snow, exposure can occur throughout the year under a variety of circumstances. Let’s take a closer look at snow blindness, along with some easy tips that can help you to protect yourself.
The Cause and Symptoms
Snow blindness is essentially a sunburn of the eyes. Snow has the capacity to reflect more than 80% of ultraviolet radiation from the surface, and a lot of that will travel right to our corneas and conjunctiva, or the sensitive membrane around our eyeballs. These become scorched, dried out and irritated, and prolonged exposure can lead to temporary, cloudy or distorted vision as well as blindness.
Common symptoms include swelling and redness of the eyes, a painful, burning sensation, a feeling of grittiness when blinking, headaches, sensitivity to light, excessive tearing, twitchy eyelashes and the appearance of fuzzy halos around the field of vision. Unfortunately, many of these symptoms, just like a sunburn, can take hours to emerge after exposure, and they can last for up to two days.
Treatment
Most symptoms will resolve themselves on their own, but there are things that you can do to minimize discomfort and hopefully speed up the healing process. Applying damp, cool washcloths to the eyes can soothe burning whereas avoiding light when possible can minimize irritation and tearing. You can also use artificial or medicated tear drops and saline solution to help keep your eyes moist. Try to avoid rubbing the eyes as this can cause further irritation, and if symptoms don’t improve or they get worse after a couple of days, you may have an infection that will require special antibiotics.
Prevention
The best way to avoid exposure is to wear sunglasses or snow goggles that have a high rating for UV radiation absorption. You can also apply streaks of zinc oxide or eye black, the dark material we commonly-see painted underneath the eyes of professional athletes, to protect your eyes as well. If you’re in a survival situation and don’t have these items handy, you can also improvise your own.
One option is to find some black dirt or clay, as dark as possible, mix in a little bit of water, and apply it beneath and around your eyes. Another solution is to make a pair of improvised sunglasses with a piece of tree bark and some cordage.
To make goggles, the first step is to find a piece that is a little bit longer than your face and around three inches wide. Next, measure, mark and cut two slits for eyelets with your survival knife. However, try to make the slits as narrow as possible to minimize the amount of UV light penetration while providing just enough space to see through. Finally, poke two holes near the edges where you can insert and tie the cordage to make an improvised strap. You can also cut out a small divot along the bottom to fit over your nose.
Remember that you can also experience similar effects when looking at bright, reflective surfaces for extended periods of time. Two common examples are metallic roofs or water. Extremely-dry, hot or cold air can also cause photokeratitis as well.
Don’t forget to pack some good sunglasses or goggles in your bug out bag, and consider including a bottle of artificial tears as well. A little bit of protection will go a long way to prevent exposure, and this is one problem that you don’t need to be contending with in the midst of a survival situation.
