How to Make Cheese From Powdered Milk
Cheese is one of those things that will be sorely missed during a SHTF situation. However, there is an awesome trick that you can use to make a rudimentary substitute. All you need is some powdered milk and follow a pretty straightforward process in order to produce your own batches, even if you don’t have the full use of your kitchen. Take a look at the steps below and give it a try for yourself.
Basic Ingredients
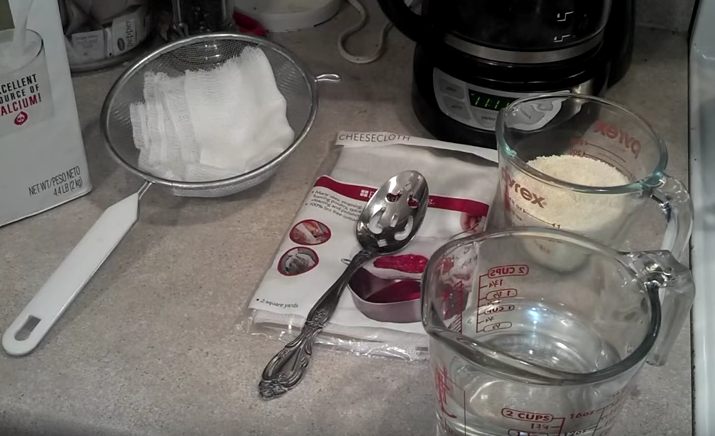
All you need is some powdered milk, preferably older supplies that are nearing the end of their shelf life, some water and cheesecloth. You can substitute the cheesecloth with a clean cotton t-shirt or piece of fabric as well. You will also need some lemon juice or white vinegar and a large cooking pot.
Make a starter batch to test whether or not this method will work for you. Use 3 cups of powdered milk, 6 cups of COLD water and ½ cup of lemon juice or white vinegar. If this recipe meets your expectations, you can scale up and make larger batches.
Preparing the Ingredients
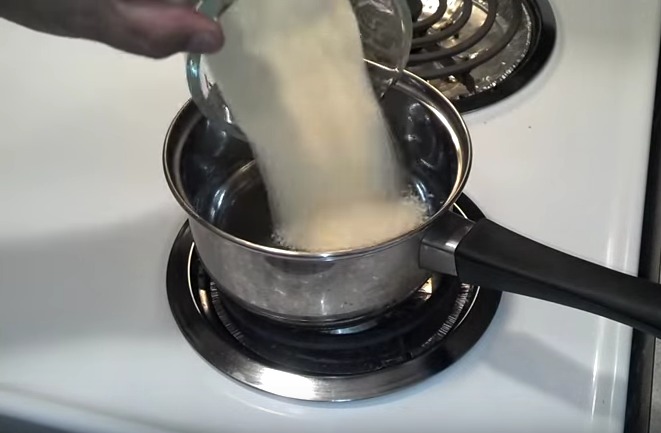
Take the powdered milk and cold water and pour into a saucepan. Bring up to medium heat, stirring constantly until the milk dissolves and you’re have a creamy, white liquid. Reduce the heat so that the liquid simmers gently. Keep stirring to avoid the milk from sticking and burning on the sides of the pot. You also want to avoid the formation of the film that is commonly associated with heating milk.

Keep stirring until the milk reaches a temperature of 140 degrees. If you do not have a thermometer, dip your fingertip into the liquid. It should be just hot enough to be uncomfortable but not too hot that it burns your skin. Far from scientific I know, but this is a good indicator that the mixture is ready to be processed into cheese. Reduce the heat so that you are maintaining a steady temperature.
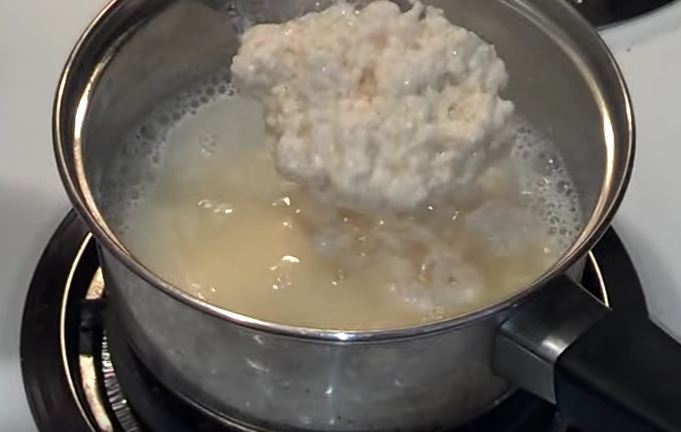
Slowly pour in the vinegar or lemon juice, and stir continually as you pour. You will begin to notice that curds form almost immediately. Keep stirring until large chunks of curds form. This indicates that the solids from the milk have coagulated and separated from the liquid, or whey. Keep stirring until no more solids form, making sure that the curds do not stick to the sides of the pot and burn. The curds will be ready for processing once the whey turns into an amber-green color and the globs of white do not get any bigger.
Processing the Cheese
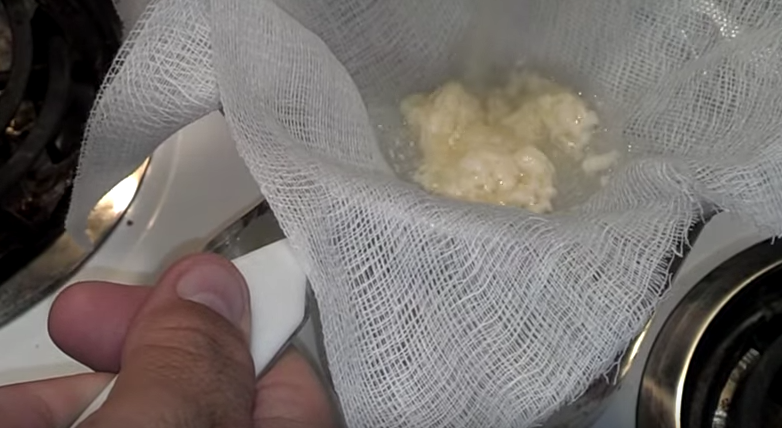
Line a colander or strainer with the cheesecloth or fabric, and place it above a large bowl. Carefully pour the curds and whey over the material and allow it to drain through the colander or strainer into the bowl. Carefully ball up the material and squeeze out any excess liquid. The more you can remove now will produce a better finished product. Just be careful when handling the cheese and liquid as it will be hot, however not hot enough to burn if you’ve been monitoring the temperature during the cooking process.
All you need to do now is open up the cheesecloth and rinse the curds with some cool water. This will remove any excess whey while helping the cheese to cool and set. Give it another good squeeze to drain the remaining liquid and you’re all done.

Keep in mind that this cheese will have the consistency of a dense ricotta as opposed to blocks that can be cut with a knife. However, it is a delicious product that can be used for a limitless amount of recipes or a nice snack. Finally, remember that the creaminess and texture of the cheese is largely dictated by the amount of fat that is in your powdered milk. If you want something a little creamier, consider using milk that has a higher fat content before dehydrating. You can also use the whey in many recipes as a milk substitute, so consider storing the liquid as needed.
Try this out for yourself and see how this simple process can give you and your family a tasty enhancement to your survival diet today. Just remember to consume the cheese right away in order to prevent spoilage if it can not be refrigerated.