Cooking in a steam pit is one of the most-efficient and hands-free ways to prepare meals in the field. While building one may involve a little bit of effort, the rewards are definitely worth it, and you don’t need a lot of material to get the job done. The following steps outline the general process of building a pit, but you can improvise as needed in order to create one that works best for you.
Getting Started
The first step is to dig a pit that’s around 3 feet wide and about 2 feet deep, but keep the dirt that you’ve removed nearby because you’ll need it to cover the food as it cooks. Next, place a layer of medium-sized rocks into the pit before covering them with an abundance of tinder, kindling and firewood. Start the fire and make sure that it is burning over all of the rocks. Let the fire burn down, and keep adding wood in order to create a large ash and ember pile that’s at least a couple of inches deep.
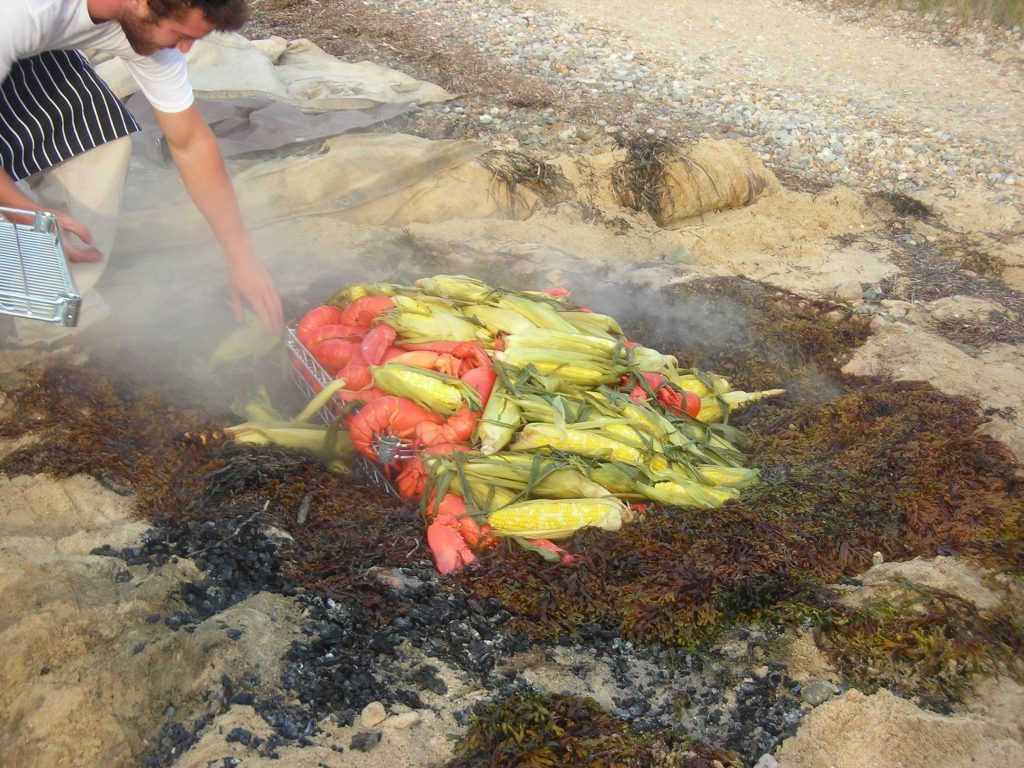
Once the fire has burned down, the rocks will have absorbed much of the heat, and they will radiate it out for hours. It’s this radiant heat that will be used to generate steam and cook your food. Cover the ash and rocks with a generous layer of fresh cut grass and leaves. Next, place your food on top of the greens before covering it with another layer of clippings. Add in a little bit of water to create a generous amount of steam before covering everything up with a few inches of dirt to trap the heat inside.
Wrapping and Arranging Food
However, it’s important that you properly wrap food so that it won’t become contaminated by the ash or greens as it cooks. You can use anything from foil to plantain or banana leaves or similar material. It’s also important that you arrange the food so that everything cooks evenly at the same time. This may take a little bit of practice as you position denser, thicker items in the appropriate spot so they cook through at the same rate as smaller items.
When finished arranging and covering the food, use a stick to mark the spot so you know where to retrieve the items when they’re done cooking. Just be careful when retrieving the food because the soil, grass and rocks will be very hot, and a good amount of steam will also be released once you start digging through the soil.
Smother the pit with more dirt in order to let the remaining fire extinguish itself safely before unwrapping your food, and you’re good to go.
This is a great way to cook anything from potatoes and other whole vegetables to meats and fish. You can either cook items separately or cut and arrange them to create meals in pouches. Just remember that cut items will cook much faster than those that are whole, so it’s important to keep an eye on the time to ensure that you don’t overcook your food. You can also experiment with material from different plants and trees as a way to enhance the flavor of your food. Pine, birch, cedar and mesquite are just a few examples to consider.
Try this for yourself and see how a steam pit can be an excellent resource, particularly when you’re cooking in adverse weather conditions or you don’t want to sit and monitor the food
