How to Can Chicken for Long-Term Storage
Canning chicken meat can save a lot of time and energy if you ever need to rely on your food stores during a crisis. You won’t need to cook the chicken later, and it can be eaten without heating as well. You can also use the leftover juices as a base for a broth once you’re done. Take a look at the steps below and build your own stockpile of ready-to-eat chicken in a few easy steps.
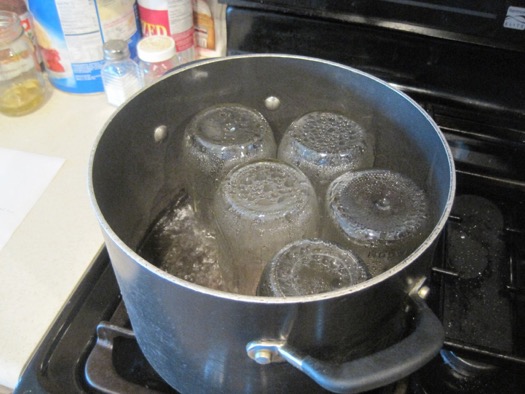
Preparing the Jars
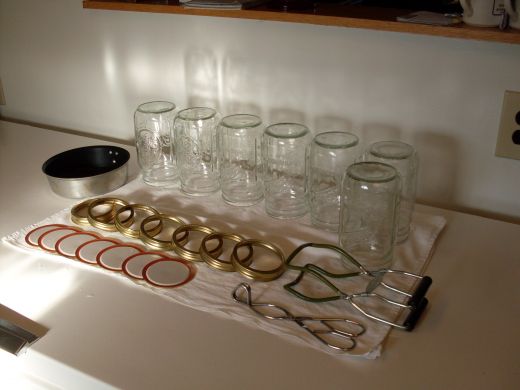
The first step is to sterilize the jars before use. The easiest way to do this is by placing 1 – 1 ½ inches of water in the bottom of a large stock pot and bring to a boil. Place the canning jars upside down in the pot and let boil for 5 minutes. Remove from heat and allow the jars to cool. You also want to make sure that you’re using new lids, but the seals can be reused as long as they are not defective.
Preparing the Chicken
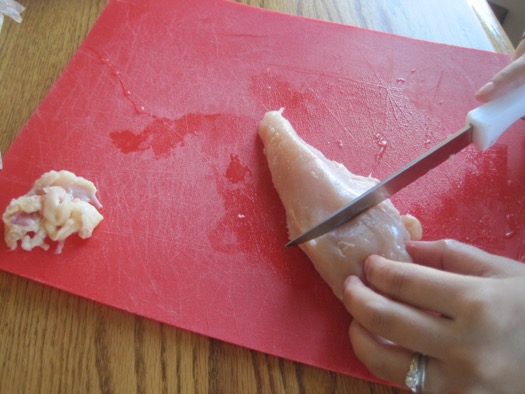
The next step is to remove your chicken from the bone. You should do this with white as well as dark meat in order to maximize space and ensure that the meat is processed evenly. You also want to cut the pieces into uniform chunks as well. There are no hard and fast rules for determining the right size, but cutting them will allow you to store more meat per jar while also ensuring that the chicken is cooked through. Trim the fat as well.
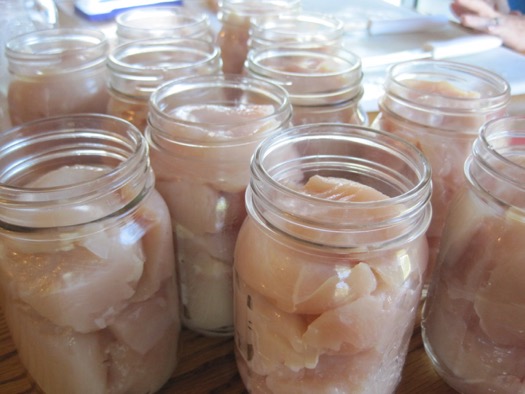
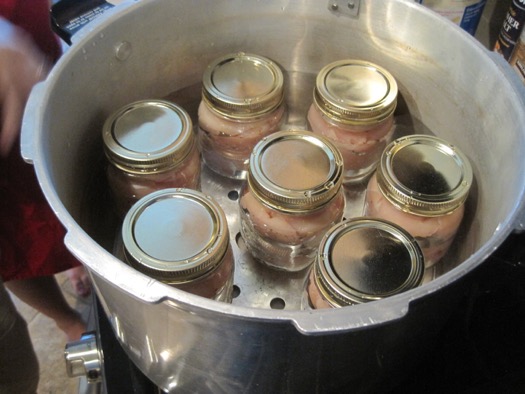
Fill the jars with tightly-packed chicken meat until an inch of headspace remains. Wipe down the rims with a moist towel to remove any gunk and attach the lids and seals. Tighten and place the jars into the canner.
Processing and Storing the Chicken
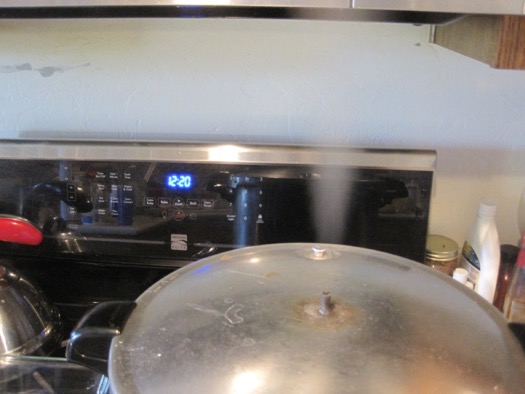
Add one to two inches of water to the bottom of the canner, attach the lid and bring to a low boil. Allow the canner to vent for 10 minutes before adding the gauge. Wait until pressure builds to a minimum of 10PSI before starting the timer. Pint jars should be processed for 1 hour and 15 minutes and 1 ½ hours for quarts.
You will need to adjust the pressure as well as the cooking time for altitude. Refer to pressure canning guidelines for more specific information. However, this is very important because water boils at higher temperatures at greater altitudes. Consequently, you can end up under-processed chicken if you do not account for these differences.
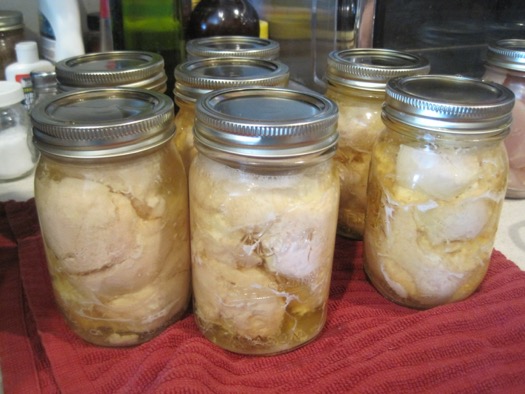
Once the chicken has been processed, turn off the heat and allow the canner to depressurize. Once the pressure has reached zero, remove the lid and take out the jars. Allow them to cool to room temperature. Check the seals to ensure that they are all intact, label and date the jars and store the chicken in a cool and dry place. If you have a jar with a broken seal, replace the lids and process again.
However, you may want to eat that chicken instead of storing it, because reprocessing can lead to over-cooking and impact taste and texture later.
Properly processed chicken can last for years, but you should always try and rotate out old products every six months or so for peak freshness. Make sure that you do a smell-test or look at the contents of the jar for any abnormalities before consuming. Discard any chicken that is questionable in order to reduce the risk of contracting any food-borne illnesses.
Avoid the temptation to season the chicken prior to processing. You can always do this later when you prepare the meat for a meal. This chicken can be used for almost recipe, and it does not need to be cooked prior to consumption. Try this out for yourself, and see how easy it is to have a backup supply of chicken on hand and ready to eat during an emergency.