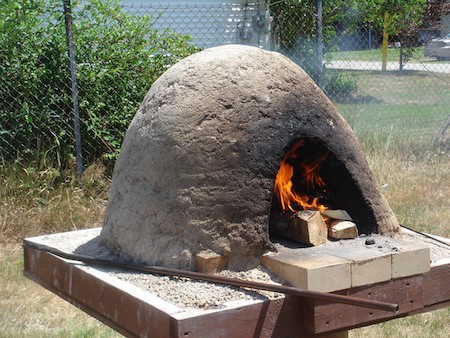
A mud-hut survival oven is a simple, efficient and practical way to prepare food, and building one requires minimal time and material. Learning how to make one can give you more options in the field that may be really helpful. First, it can be used in circumstances when you do not wish to reveal your location. Fires, especially at night, can be visible for long distances. Fires also reduce the ability to see off into the distance and identify potential threats. Second, a mud-hut oven traps heat and channels air through the system. This reduces the amount of fuel that is needed to generate and maintain a healthy fire for cooking.
Basic Material
The best material to use for the oven is clay. However, you can also use regular dirt along with some grass or hay if there is no clay available. You will also need some sticks in order to build a tepee frame that will support the structure as well as some cordage to tie them together.
Building the Framework
The first step is to prepare a flat and hard surface that will be large enough to suit your needs. Remember that the available cooking space will be a lot less than the diameter of the oven. Factor in the thickness of the walls as well as the amount of space needed for the fire itself. Create a space between two and three feet in diameter to begin with, and you can always adjust as necessary later.
Build the tepee structure and lash the pieces together at the top. Start by placing three sticks in a tripod fashion and add more sticks in between until there is about an inch or two gap between each one. You can use some strips of bark or strands from plants if you don’t have cordage. This is only necessary to hold everything together until you construct the oven, so you don’t have to worry about securing the sticks together perfectly.
Be sure to leave one side open so that you will have enough room to tend the fire and cook the food. You may also want to consider adding some horizontal sticks at and above the top third of the opening. This will help to contain heat and minimize fire visibility.
Creating the Walls
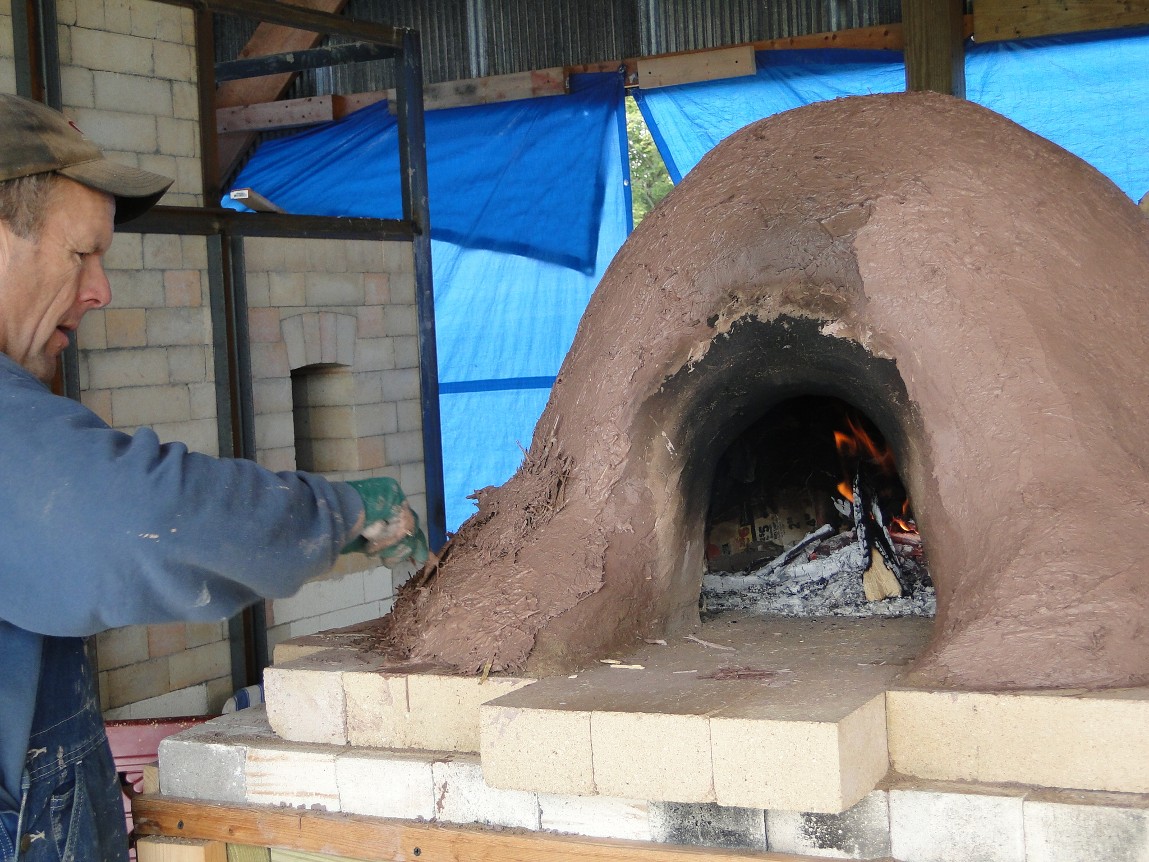
The next step is to prepare the mud or clay. Clay will retain its shape more easily than mud, however, fortifying the mud with twigs, grass or hay will also keep everything together. The trick is to get the right balance of water, filler material and dirt. You are aiming for a consistency that will hold its shape while being moist. If the material is too thick, add more water. If it is too runny, add more material.
Start by placing a mound of material that is a few inches deep and wide around both sides of the base of the tepee. You need a few inches in order to create the insulating properties of the oven that will produce more heat. Thicker walls will also add to the strength of the oven as well. You can start to add another layer once its weight can be supported by the foundation. You don’t want to add layer upon layer of wet material because the lower portions of the oven can sag, crack or collapse altogether.
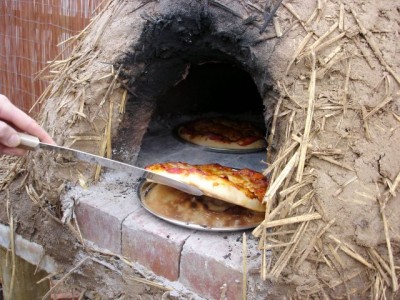
Keep repeating this process until you have reached the top. However, it’s important that you leave a 4-6” opening at the top to allow heat and smoke to escape while you are using the oven. Once the material has set, fill in the top portion of the opening where you placed the horizontal support sticks.
Add some kindling and wood, start a small fire and begin to use the oven. The heat will help to cure the walls after its first use. This method is designed to serve as an example, and you can experiment with different shapes and material to create other options according to your needs. Try it today and see how this highly-efficient oven will expand your cooking options while also promoting privacy and security as well.