How to Build a Firewood Rack in Minutes
It’s never too early to start preparing wood for the next cold season, and properly storing the logs will help them to dry and cure faster. You can make a sturdy rack that can be scaled up or down to suit your needs in a few easy steps. Look at the steps below and see how you can put this fantastic trick to work for you.
Required Items
All you need to get started are some cinder blocks and planks of wood. The aim is to stick the wood through the holes in the cinder blocks in order to create a frame to support the logs. The trick is to use the right material to handle the size and weight of your rack.
Getting Started
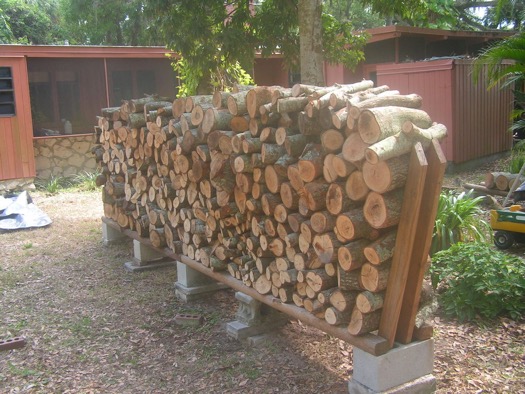
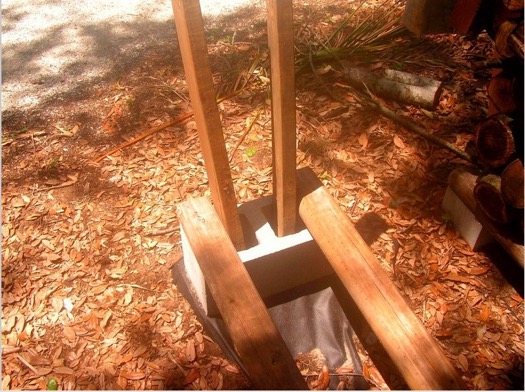
For medium-sized logs, chances are that you only need one cinder block and two pieces of wood for each end. Determine the site where the rack will be placed and measure out the overall width of the rack. Then, place one cinder block on either end on their sides so their holes are facing up. Next, simply stick one long piece of wood through each hole, and allow them to jut out at an angle. This will cause the wood to lock in place at the base of the cinder blocks.

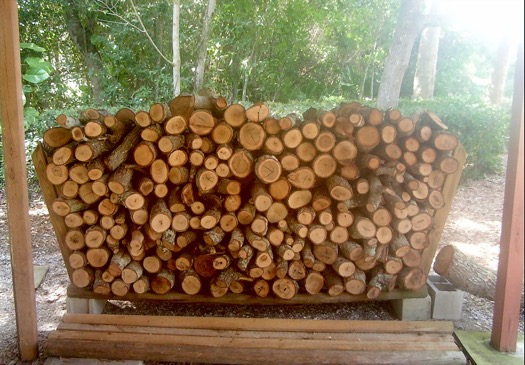
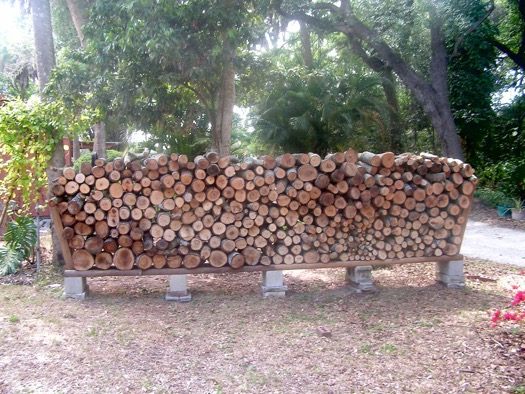
Next, take two more long pieces of wood that equal the length of the rack. Place them atop each cinder block along the inner walls, next to where the vertical boards are sticking through. Consider adding another cinder block in the center to support the weight of larger racks. All you need to do now is start placing the logs in the makeshift rack and keep piling them on.
Practical Considerations
The most important thing to remember is that the quality of the planks that you are using for the support beam will determine the strength of the rack. If you are using soft, rotting or otherwise poor-quality wood, chances are that you will need to build a smaller rack. Try to use 2x4s whenever possible as they make a really good fit with the holes in the cinder blocks. However, you can also use square pieces or good, thick branches as well.
While there are many ways that you can build a wood storage rack, this method is one of the easiest. It can be put almost anywhere, and it is a great way to start getting wood ready for the winter. Another benefit is that the rack can be disassembled quickly, and you can re-use the material for other things when necessary.
This project is also a great example of how we can use basic material in order to create practical and helpful solutions to problems that we may not think about in advance. This is an important skill to develop, and getting creative with minimal resources is something that most of us would have to do during a real-world situation anyway. Always keep an eye out for other tips and tricks that can simplify survival life, and remember to share any ideas that you have as well.