You can convert an old plastic barrel into a multi-layered food growing machine that can produce an enormous amount of crops with minimal effort. These highly-efficient units can provide an ample supply of vegetables in places where space is at a premium, and they are ideal in urban settings. They do take a bit of work to create, but the effort will pay big dividends over the course of time because they can be used over and over again. Learn how you can create a stable supply of healthy food without the need to dig up a large yard in order to plant a garden.
Creating the Tower
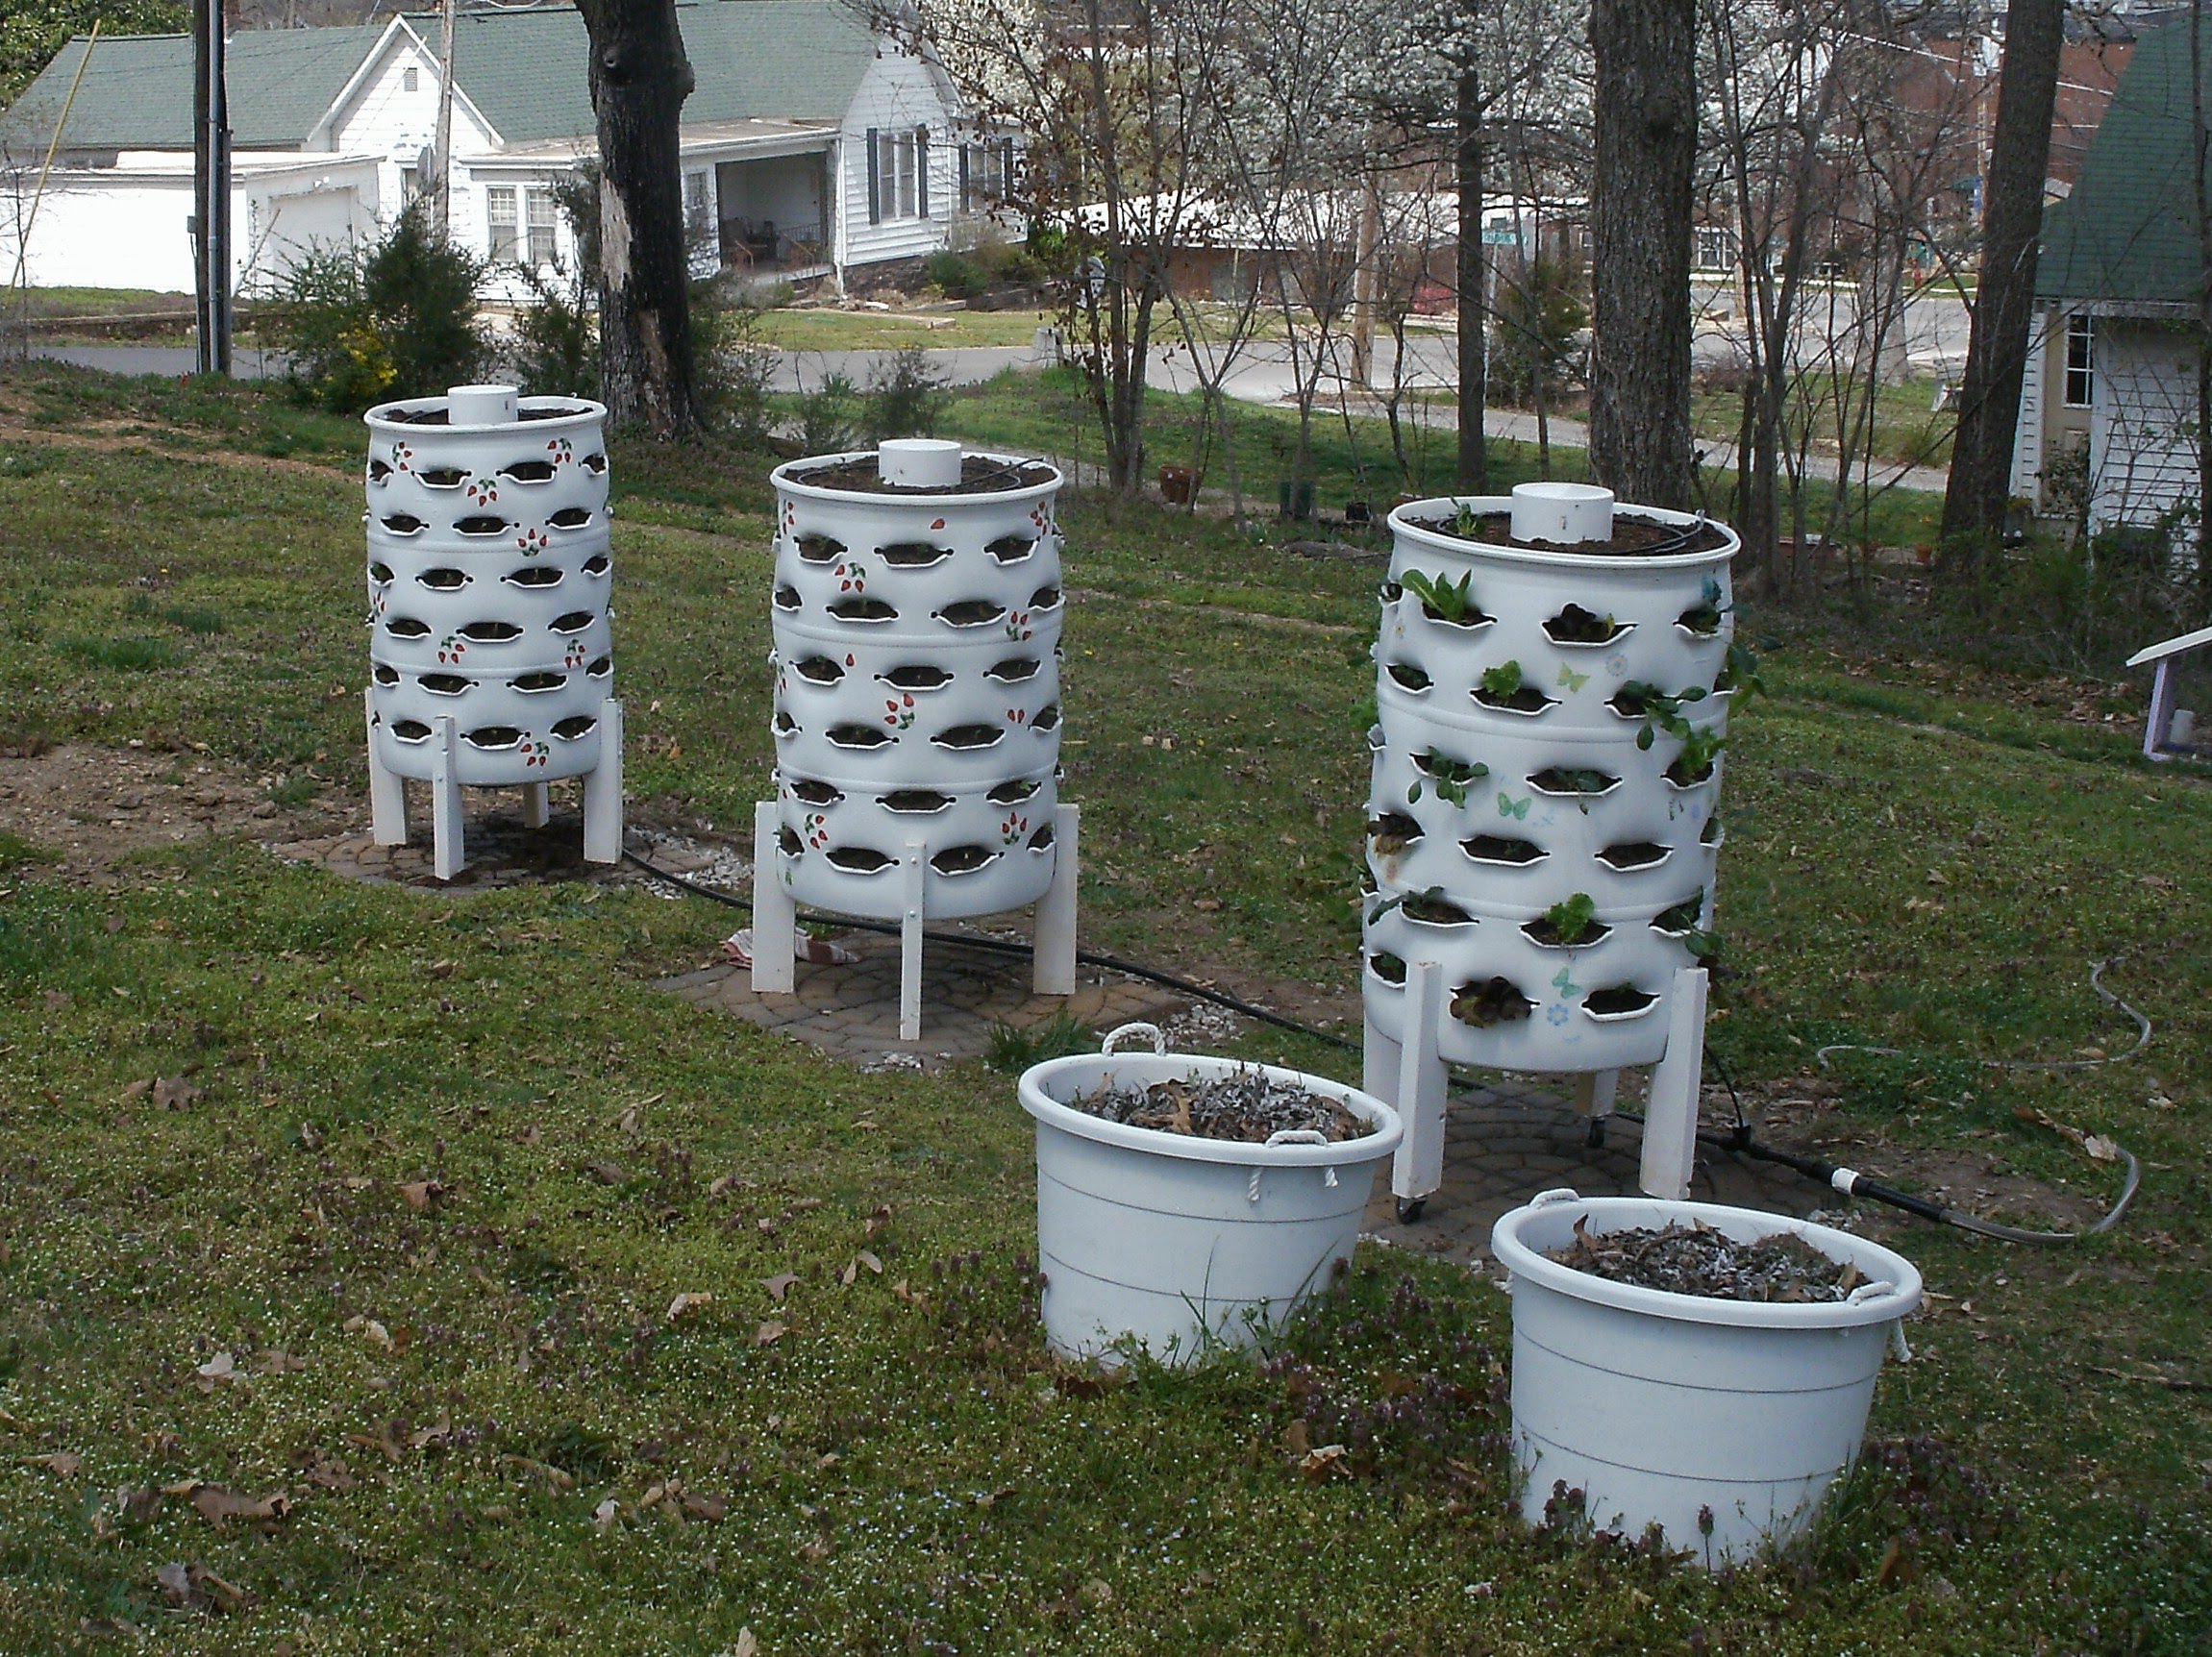
There are two main steps associated with building the tower: Preparing the holes and creating the base. The base needs to be constructed with three legs that can support the weight of the barrel once it is loaded with soil and plants. You will probably want to work with inch-thick pieces of wood that are bolted to the walls of the barrel and supported by cross-beams on the bottom. You don’t need a base if you are going to be placing the tower on some grass or area with ample drainage, however this step may be worth the time as it will give you more options in terms of placement in the future.

Creating the holes involves cutting 3-4 inch long slits in rows around the barrel. However, it is important to space the layers a few inches apart and stagger them as you work your way around. This will provide ample space for each plant to grow without crowding the ones above and below them. This will also be the most difficult and time-consuming part of the project since each hole needs to be fashioned manually with heat and force.
The easiest way is to take a portable torch or heat gun and soften the plastic beneath each slit. Once the material softens, wedge a baseball bat or piece of wood into the slit and rock back and forth a few times before holding it in place at an angle until the plastic cools. This will leave an indentation that will serve as the holder for each plant. You want to repeat the process for the space above the slit as well. The finished product will be an indentation on top and a basket-type of protrusion on the bottom of each hole.
Finally, drill out some drain holes in the bottom so water can escape. You may also want to consider building a worm tower out of some PVC pipe and placing it vertically in the center of the barrel. This will help with the fertilization of the plants and also give you a way to use composting to add nutrients. The easiest way to do this is to drill a series of staggered holes around the pipe and stick it in the middle of the barrel and add the dirt to hold it in place.
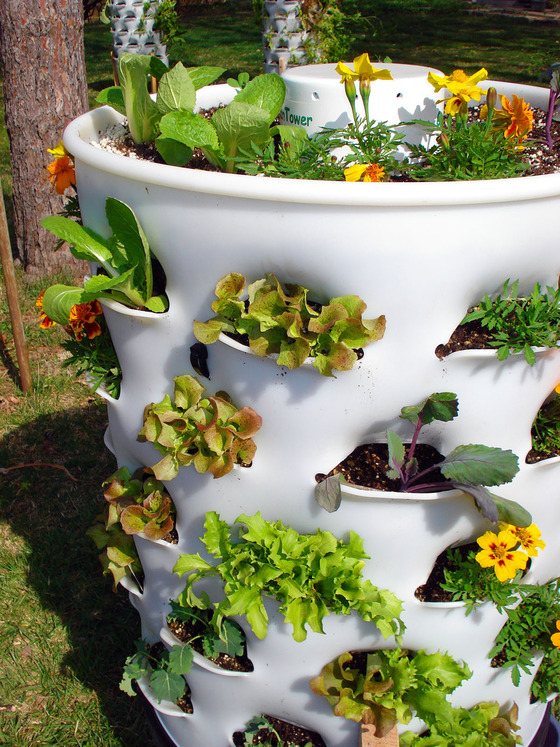
To plant the crops, simply take the seedlings out of their container and stick them sideways on an angle into the slits that you have created. Make sure that the leaves are sticking out of the holes. Make sure that the roots are covered in soil before moving on to the next layer of plants. Repeat the process until the barrel is full.
Fill the worm tower part way up with dirt, worms and compost. The worms will digest the material and travel in and out of the tower, fertilizing the soil in the planter. You can add more compost and dirt as necessary to keep the process going over time.
When it comes time to harvest the plants, simply remove them, roots and all, one by one. You can replace them with new seedlings and repeat the process. This will give you a year-long supply of your favorite vegetables if grown indoors or in a greenhouse. Creating a few garden barrels can give you more than enough food to sustain you and your family without the need to take up a lot of space or perform time-consuming maintenance. Investing in the time to make the barrels now will be well worth the effort for years to come. Give yourself access to greater food security and control over a sustainable food supply today.