Having the comforts of home can be a real luxury when you’re out in the backwoods. Now some of you might feel this is soft, but we feel that if you can be a bit more comfortable them why not. This post will explain in detail all the steps that you need to take to create your own self sufficient solar powered outdoor air conditioner. The cool thing is this can be powered by an Xsolar.com solution. Read below and we look forward to hearing how this works for you……
Materials you’ll need:
- 5 gallon bucket
- Window screen, black plastic (minimum 24” X 76”)
- Fan (computer fans work great)
- Cooling pad, or filter material
- 1/4″ Aquarium tubing
- Clamp
- Fountain pump
- Push pin
- Solar panel (XSolar.com Smart Solar Charger)
Tools:
- Yardstick
- 1 – 2” hole saw
- Marker
- Razor tool
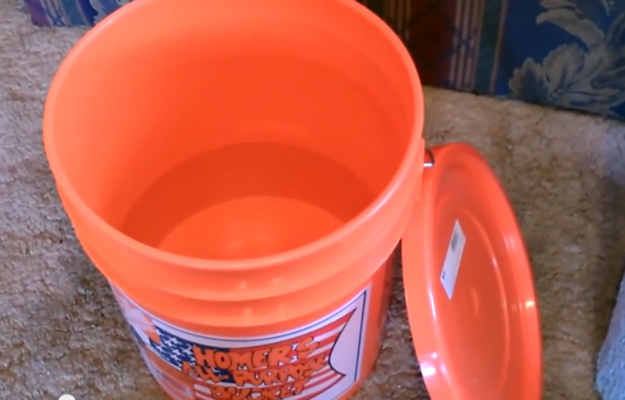
Start by filling the bucket with two gallons of water.
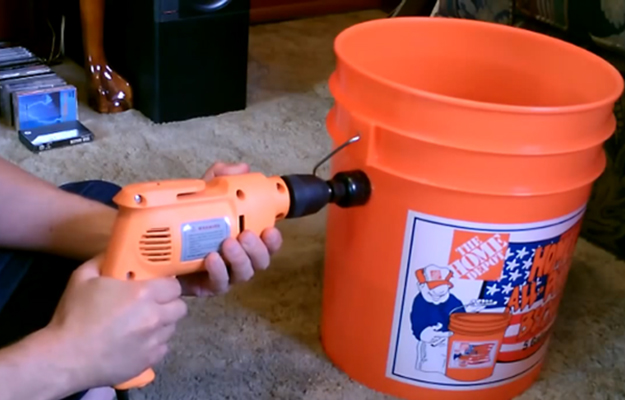
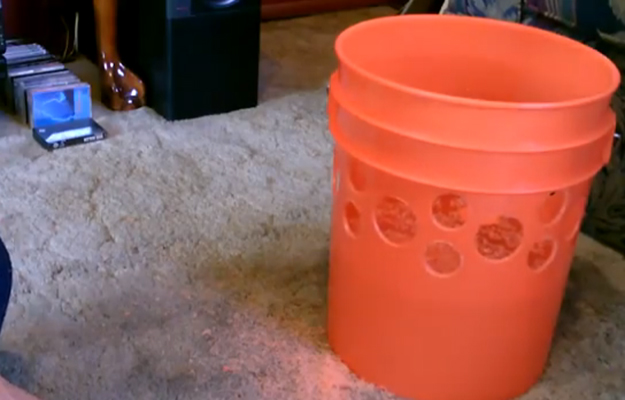
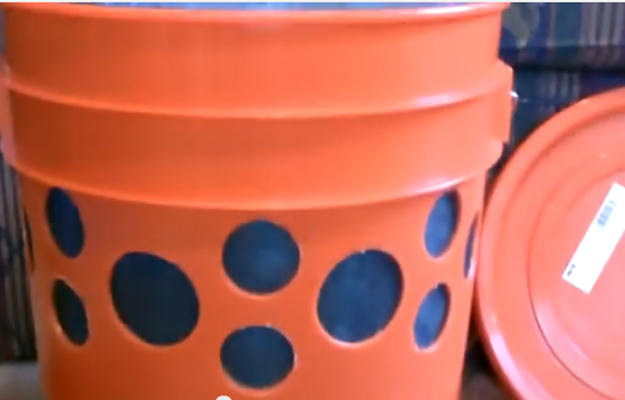
Next, cut circular holes around the bucket, making sure they are all well above the water line. Vertically drill a pair of two holes, spacing each pair every 5-6 inches. These holes should be roughly 1.5 inches in diameter.
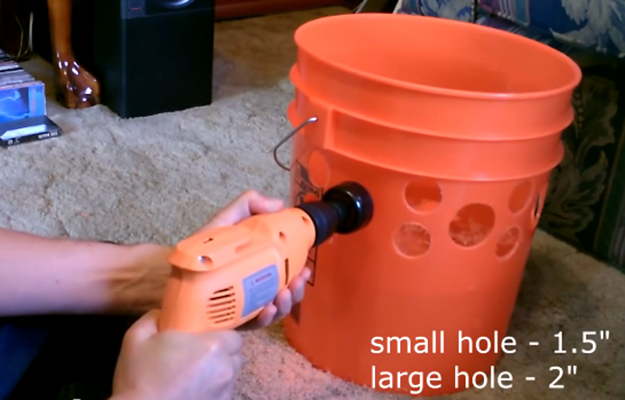
Between these pairs, drill a single hole, 2 inches in diameter.
Next Step:
Now you want to cut down the cooling pad. You will want it to be about 13-14 inches high, and roughly 30-31 inches around. This is roughly the measurement of the bucket.
Next Step:
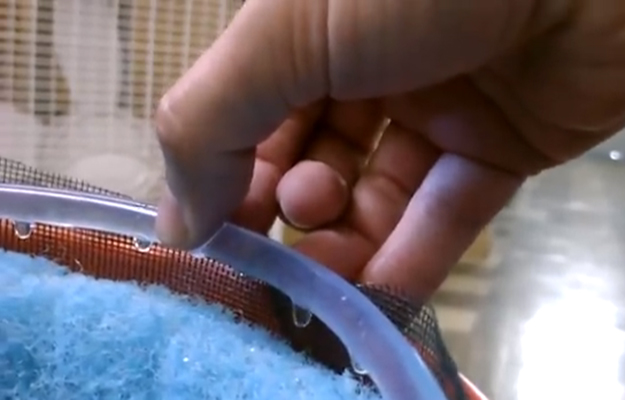
Take regular window screen and double layer between the bucket and the cooling pad. You may also use garden cloth.
This will help hold in the moisture of the cooling pad away from direct contact with the air holes.
Next Step:
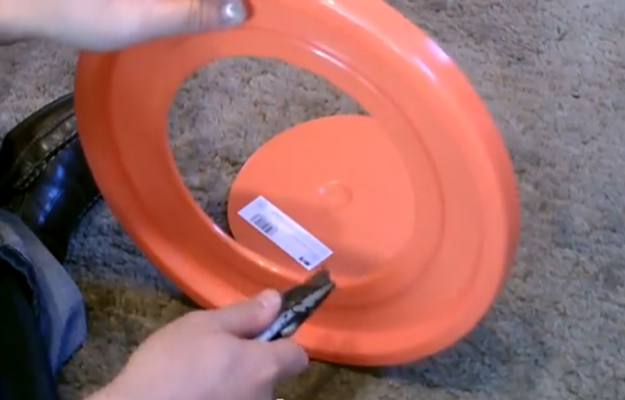
Next, trace the circular edge of the fan on top of the lid and cut.
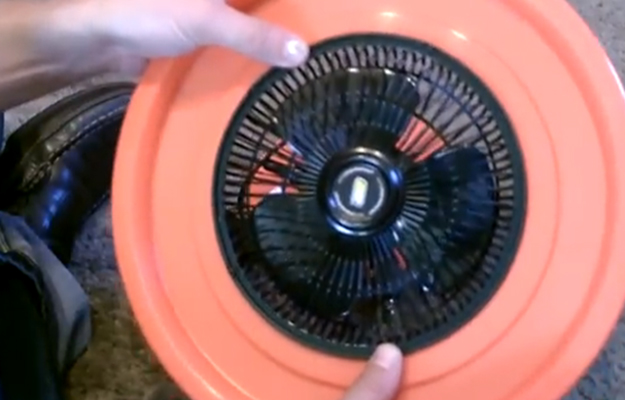
Place fan in the hole. It should fit nicely without falling through.
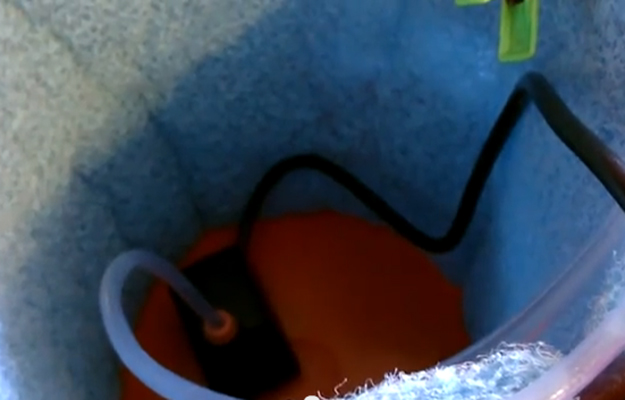
Drop the fountain pump in the bottom and connect the 1/4 inch aquarium tubing.
Wrap the tubing around the bucket, and once again at top of the bucket. Clamp off the end of the hose to keep the water from escaping.
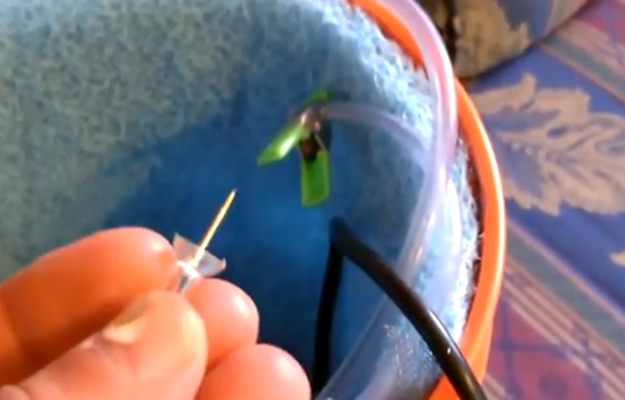
To turn this into a soaker hose, pin along the length of the hose, about every inch around the diameter of the hose.
This will saturate the cooling pad.
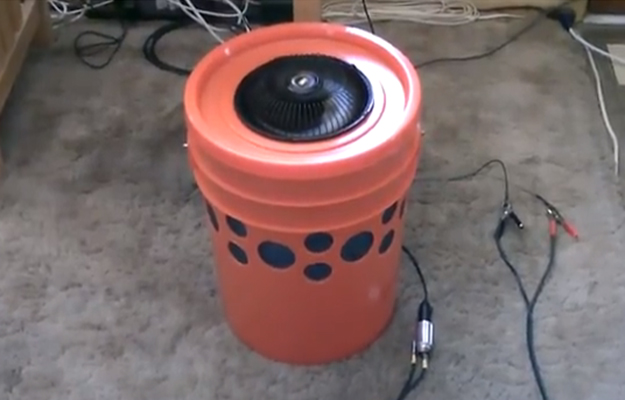
Hook up the fan to the solar panel, and you are set!
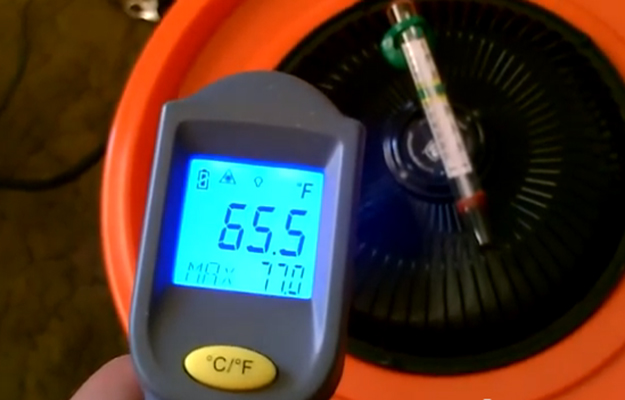
Your DIY air cooler should get between 65-40 degrees, depending on how cold the water is. Add ice if you want cooler air.
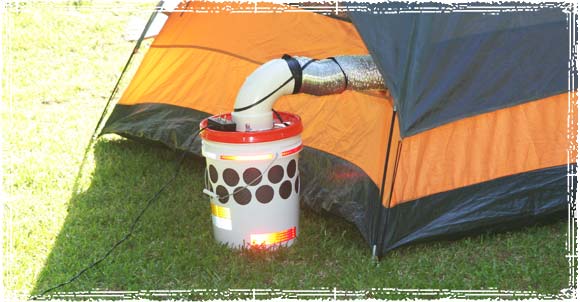
If you are going camping, you can also add a 90 degree piece of PVC and dryer vent hose to isolate the air.