Making a bird feeder may not be the first thing that comes to mind when we think about projects that can help kids to become more resourceful. However, this is a great way to give them some hands-on experience with working on something that involves a little bit of scavenging and improvisation in order to create something that produces immediate and visible results. It can also provide them with an opportunity to learn a little bit about wildlife and how to attract them with food, and this can pay big dividends later in life, especially if they ever find themselves in a survival situation.
Basic Material
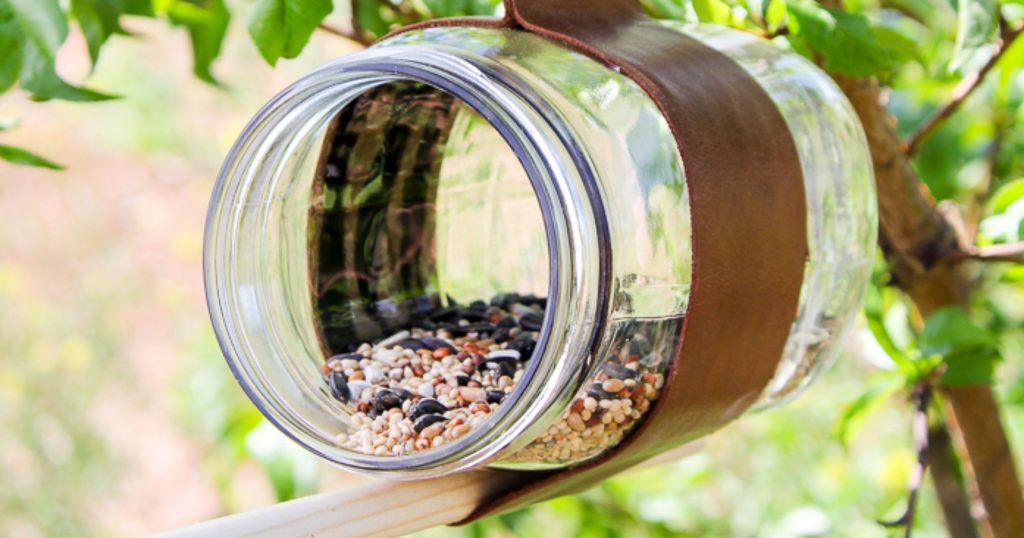
All you need is an empty plastic water bottle, a few pieces of scrap wood, some nails and 4-6 brackets or clamps to secure everything together when you’re finished. You can also use some cordage, wire or duct tape as an alternative as well. Remember that this project is all about teaching resourcefulness, so feel free to improvise with whatever items you have on-hand at the time.
Getting Started
The first step is to build the “house” for the feeder by cutting the wood into three pieces. One piece will be used as the backboard, another will be the base and platform, and the third will be the overhang. While you can make the feeder any size you like, the backboard needs to be a few inches longer than the bottle, and the base should be at least a couple of inches wider.
This will allow the birds to stand and rest while they eat from the dispenser. The third piece will act as an overhang that can block large debris from getting into the feeder, and it can also be used as a perch for additional birds. Screw or nail the pieces together, and feel free to use some wood glue to make the fittings more-secure if you have some available.
Next, you want to make two holes in the middle of the backboard that can be used to anchor whatever attachment you are using to secure the feeder to the tree or pole. If you are making a large or heavy feeder, consider making two sets of holes, one near the top and the other near the bottom, for greater stability. You also want to make two holes in the backboard that will be used to anchor the bottle after it’s been filled with food. To sum up, you want one fitting that will secure the bottle to the board and one or two fittings to secure the board to the tree or pole. When finished, make sure to test everything and make adjustments before setting up the dispenser.
Setting up the Feeder
Draw a line around the bottle a couple of inches above the bottom and cut it off. Invert the bottle and fill it with feed. Take the bottom piece, invert it, and stick it into the bottle to use as a cover. Next, place a small bowl on the platform of the feeder before removing the bottle cap and holding the bottle about ½ inch above the bowl. The idea is to make a small space for the feed to spill out into the bowl and continually re-fill as the birds eat.
Secure the bottle to the backboard once you’ve found the perfect position, and you’re good to go. The feeder should be self-dispensing as long as it doesn’t get clogged up, and refilling is easy too. Just remove the inverted piece from the top, add in the feed, and plug it back up when finished. Try this out for yourself, and see how this simple project can be a great teaching tool as well as a good way to attract wildlife at the same time.
