How to Make Homemade Cultured Butter & Buttermilk
Store-bought buttermilk is nothing like what you can make at home, especially if you are using fresh milk. However, you can also make buttermilk out of milk from stores as long as it is not ultra-pasteurized. Let’s take a look at two different ways to make buttermilk, and you can start to enjoy its creamy goodness and incorporate it into a vast array of homestead and survival recipes.
Cultured Buttermilk
Cultured buttermilk takes a little bit of time to prepare, but it’s worth the wait. The finished product will be creamy, smooth and delicious, and it also has a nice smell. However, you will need to use a starter culture to make your first batch, but you can use parts of the finished product as a culture for future batches in order to have a limitless supply on hand.
The first step is to take 4 cups of whole milk, or fresh milk straight from the cow, and pour it into a bowl or large container. Add in a packet of prepared, direct-set culture, 1/8 teaspoon of starter culture, called mesophilic culture, or a cup of cultured buttermilk that you can get at any store. If you use the cultured buttermilk, use 3 cups of milk instead of 4.
Pour the culture into the container or bowl and add the milk. Take a whisk and gently stir the ingredients until they are blended together as consistently as possible. If you are pouring the milk directly into mason jars, make sure that you add equal proportions of the culture and milk into each one before stirring.
Once the culture and milk as been blended consistently throughout, pour the milk into a mason jar and cover with a piece of cloth or paper towel, and secure it with a rubber band. Allow it to set on the counter at room temperature for between 12 and 24 hours. Don’t pad the covering too thick, as the culture needs oxygen to activate and convert the milk. The purpose of covering the jar while it ferments is to keep insects and debris from getting inside.
You will know when the milk has set once it starts to produce a distinctive, tangy smell while also becoming thicker. While this normally happens after about 12 hours, you can let it go for up to a day in order to produce a thicker, richer finished product. Feel free to experiment with different fermentation times until you find the best consistency and flavor. Once finished, cover the container with a regular lid and store in the refrigerator. You can expect it to have a shelf life of up to a few weeks if you don’t consume it right away.
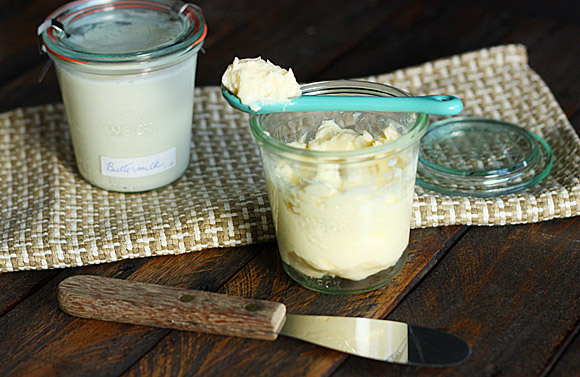
Butter Buttermilk
The other way to make buttermilk is by making your own butter. However, you will end up with a lot more butter than buttermilk, so this is a good option when you also want some butter on hand. All you need to do is take some cream with high-fat content or skim the top layer of milk that was collected from cows. Cream converts to butter faster when it is at room temperature, so take it out of the refrigerator a couple of hours beforehand. Pour the cream into a food processor or blender and let it mix at its lowest possible setting.
Over time, the cream will start to thicken and coagulate. After a little more time, the liquid will start to separate from the solids. This is your buttermilk. The trick is to find the right balance between liquid and solids so that you get as much as possible while also producing butter that has the right consistency. A little bit of trial and error is all you need, and you will quickly get a feel for what works best for you. Once you have separated the liquid, pour it into an airtight container and refrigerate.
This product will also have a shelf life of at least a couple of weeks. You can also add a dash of salt to the cream before mixing if you like salted butter and milk. At the end of the day, the finished product you make at home will taste much better than what you find in stores, and it will be all-natural. Try both options out for yourself, and enjoy the benefits that each one provides.