How to Make a Basic Sauna in the Wilderness
When we think of wilderness survival, we tend to focus on bare-essentials that will keep us alive and healthy until we can get rescued or established in more secure surroundings. However, there are a lot of little things that we can do in order to improve comfort as well, thanks to resources that nature provides. One example is being able to create a rudimentary sauna out of some very basic items. Take a look at the example below and see how you can adapt it to suit your needs out in the field. This is one creature comfort that all of us can enjoy, even if we are in the middle of facing a grim survival situation.
![]()
Getting Started
The first step is to create a large tepee out of long and sturdy branches. You can choose the size of the tepee based on your needs and requirements, but for the sake of this example, let’s use branches that are six feet long each. This will give you and possibly one other person enough room to get comfortable inside while avoiding getting burned by the hot rocks that will be added later.
Take the branches and lash them together at the top. Spread out the legs so you have a level and sturdy tripod before making the lashing more secure. Check to make sure that you have enough space inside the frame, and make adjustments as necessary.
![]()
Adding the Covering
The next step is to cover the frame with material that is not likely to smolder or smoke if heated. Plastic sheets or tarps work well, but you can also fill in the frame with branches, grasses or other forms of debris as long as they can be anchored in place. The level of complexity and amount of effort that you put into this project is totally up to you. The important thing is that the tepee is covered on all three sides.
Next, you want to either fashion the covering so that it creates a door or flap on one side of the tepee. This will make it easier for you to get in and out, and the opening will also help you to vent heat and regulate internal temperatures once you add the rocks for the sauna.
![]()
Preparing the Rocks
You will probably only need one big rock or a handful of smaller ones to provide more than enough heat inside of the tepee. While using one big rock may be easier, keep in mind that it may also be difficult to move when heated and adjust once inside. A large rock can also take up extra space and get too close to you and other occupants inside as well. Smaller rocks are easier to handle and position, and they can also allow heat to be distributed more evenly throughout the tepee.
To heat the rocks, simply place them in or next to a fire and let them get as hot. If you have a metal bucket, you can place them inside and then put the bucket in the center of the fire. In any case, the biggest challenge will be to figure out how to move the hot rocks from the fire into the tepee. Keep in mind that the rocks can get incredibly-hot, and you never want to touch them with your bare hands or thin material.
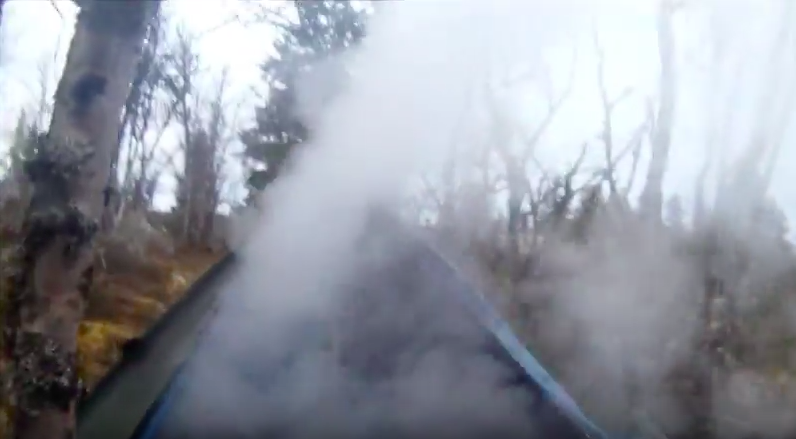
Once inside, the rocks should radiate heat for up to an hour. You can also add steam by sprinkling water atop the rocks. If you plan on using the sauna for a long period of time, consider having a second batch of rocks heating up in the fire and swapping them out as the original ones cool. Keep repeating the process until you’re finished using the sauna.
Remember that you don’t need a lot of rocks to warm up a small space, and using steam will intensify the effects. Make sure that your flap or door is big enough to allow enough cool air to get into the tepee when necessary.
Try this out for yourself, and see how easy it is to create and enjoy your own sauna the next time you are out in the field. This simple project can help to soothe sore muscles, help the body sweat out contaminants and give you access to a good source of warmth and relaxation during a wilderness survival situation.
