How to Make Your Own Coconut Oil in the Field
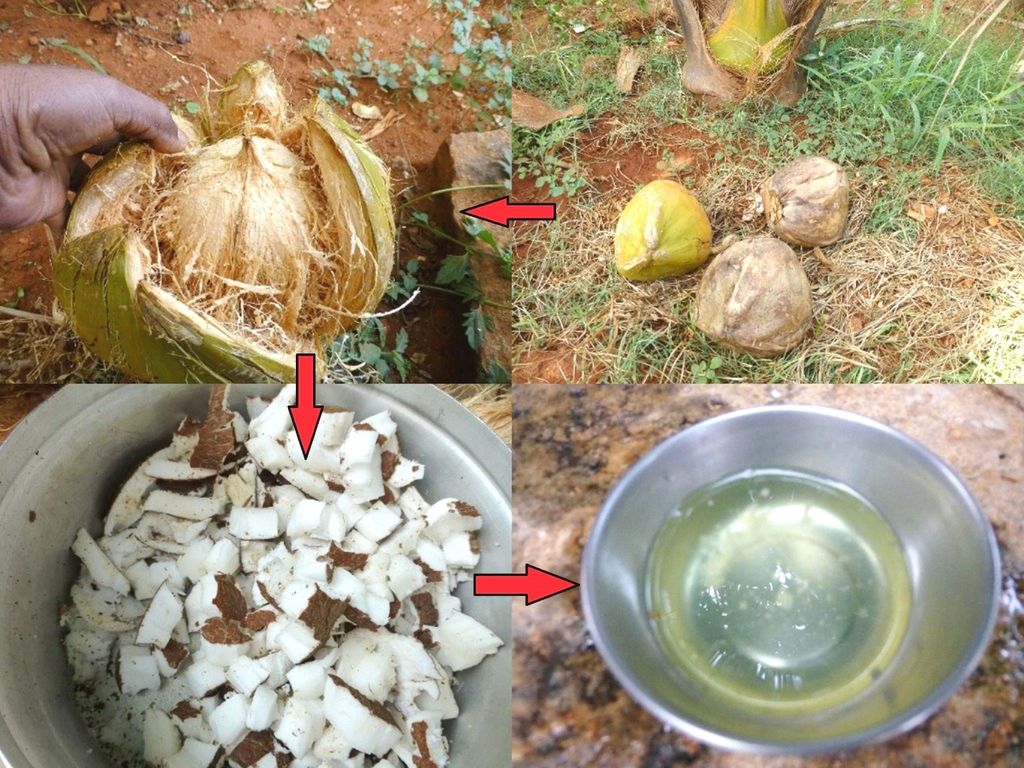
Coconuts provide a wide-range of important benefits during normal life as well as during survival situations. Their water, meat and oil are important ingredients in a lot of products, recipes and remedies that provide nutrients and promote healing. Let’s take a look at how easy it is to extract oil from fresh coconuts. Knowing how to make your own coconut oil can unlock all kinds of opportunities that you can add to your survival bag of tricks.
![]()
Gathering the Material
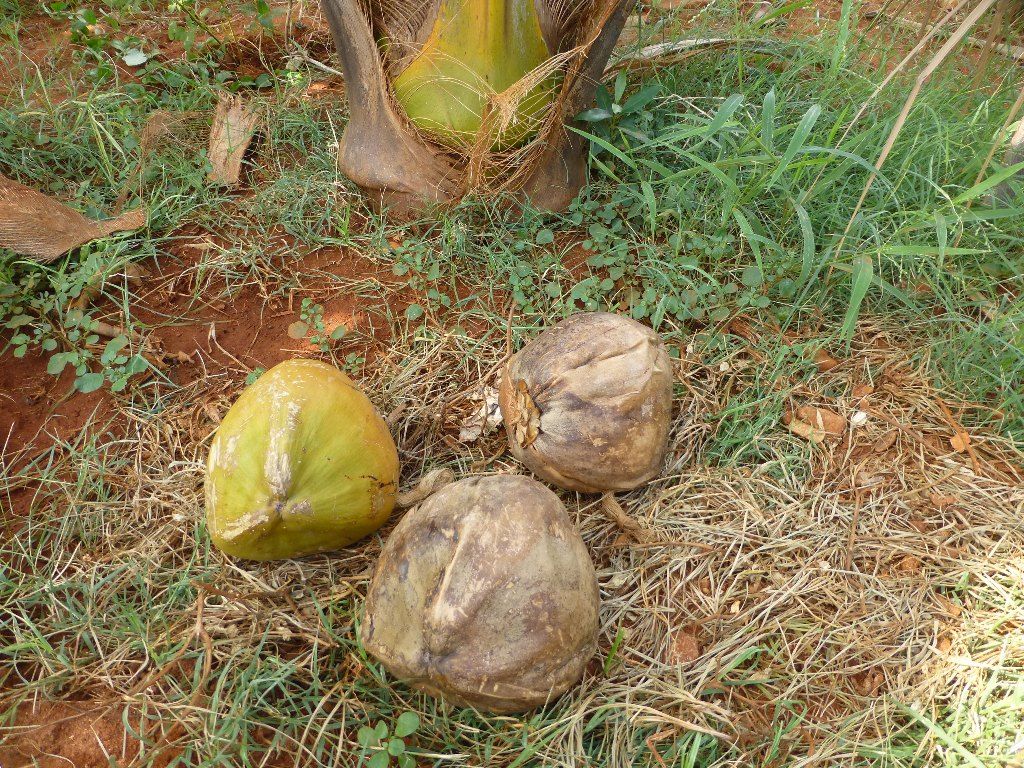
You want coconuts that have fallen to the ground, but are still on the fresh side. Try to avoid using coconuts that have obviously been on the ground for a long time as well as picking fresh ones from the tree. Coconuts fall from the tree once they’re ripe, and it’s a lot easier to work with ones that have matured.
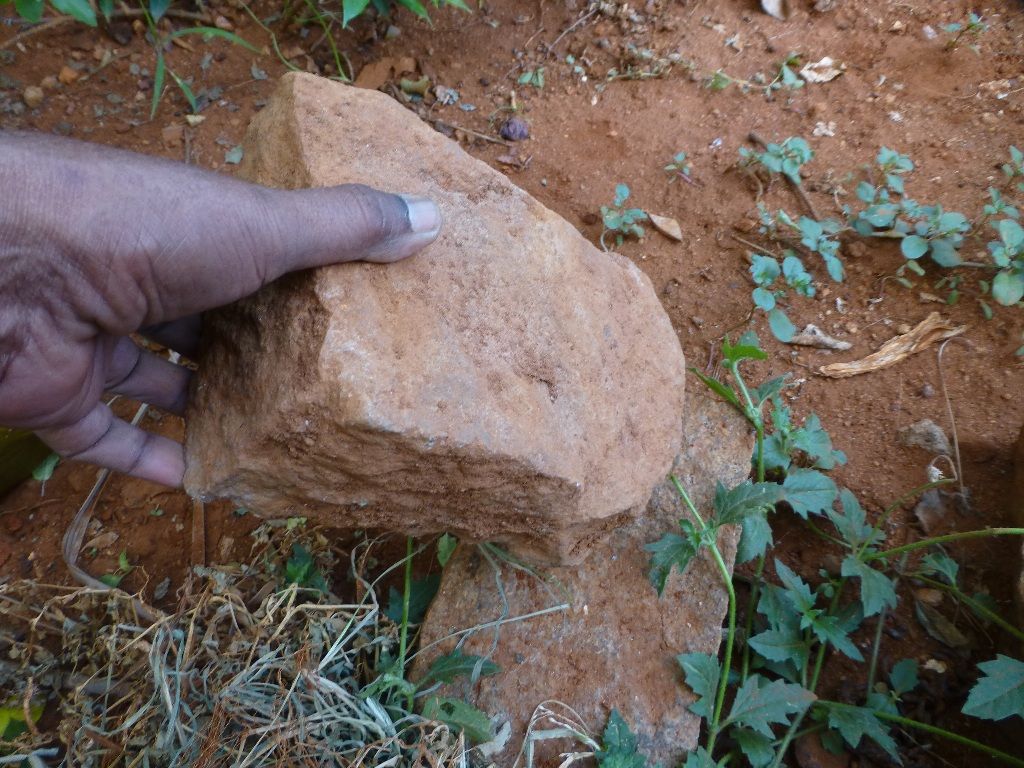
You also need to find a large and medium-sized rock. The large rock will be the base that you place the coconut. The smaller rock will be what you use to crack it open. The smaller one should be jagged to a certain degree and at least as large as your hand. This will give it enough heft to crack the shell as you hammer away at the coconut later on. Of course you don’t need to use rocks if you have other, less-primitive items on hand, but it’s always a good idea to learn the basics as a way to keep building up your skill set.
![]()
Preparing the Coconuts
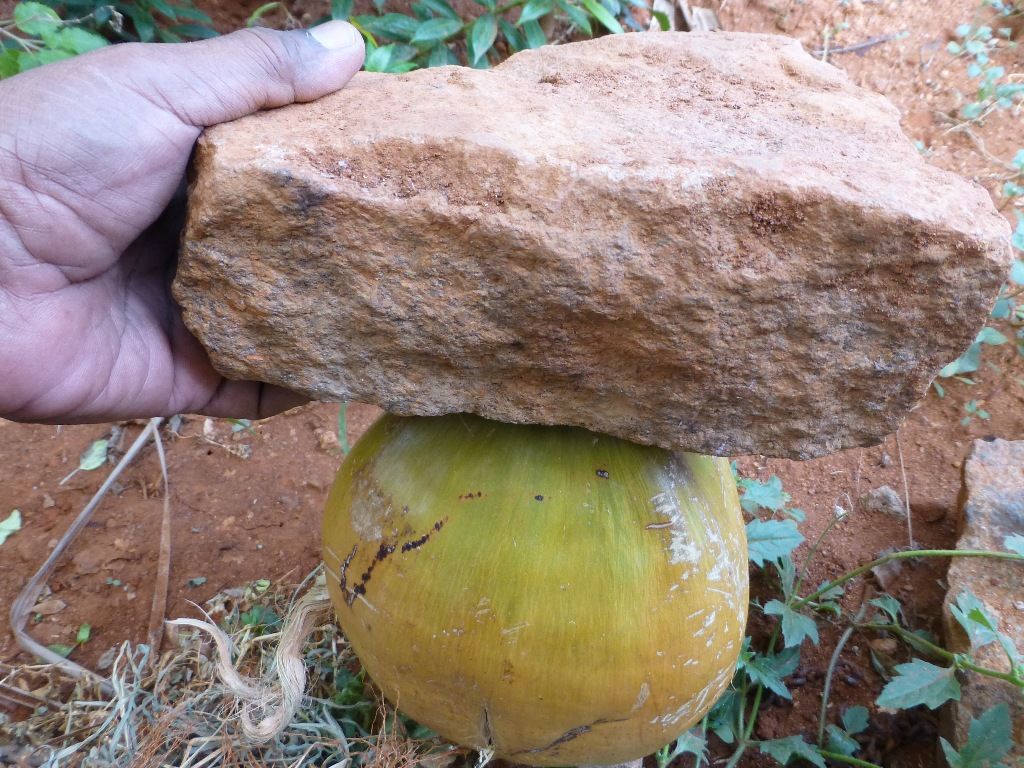
The first step is to remove the husk from the coconuts. Place the coconut upside down on the surface rock or concrete so the fat part is on the bottom. Take your other rock and strike at the pointed end of the coconut repeatedly. The amount of force you will need depends on the coconut, your rocks and your strength. It doesn’t take a lot to crack the cap and break open the husk, but it takes some, and you’ll get a sense of what to expect once you’ve done this a couple of times.
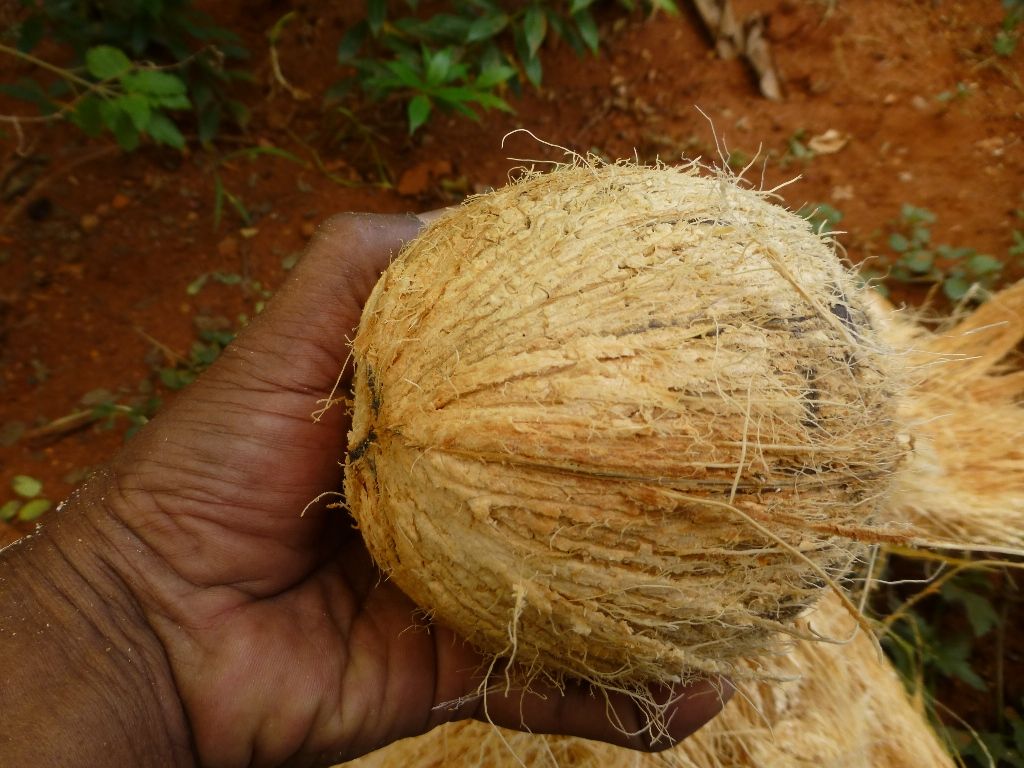
After a few whacks, the outer part of the coconut will start to break open. Keep hitting the coconut until it’s broken enough for you to pull off the husk with your hands. Remove the husk and discard.
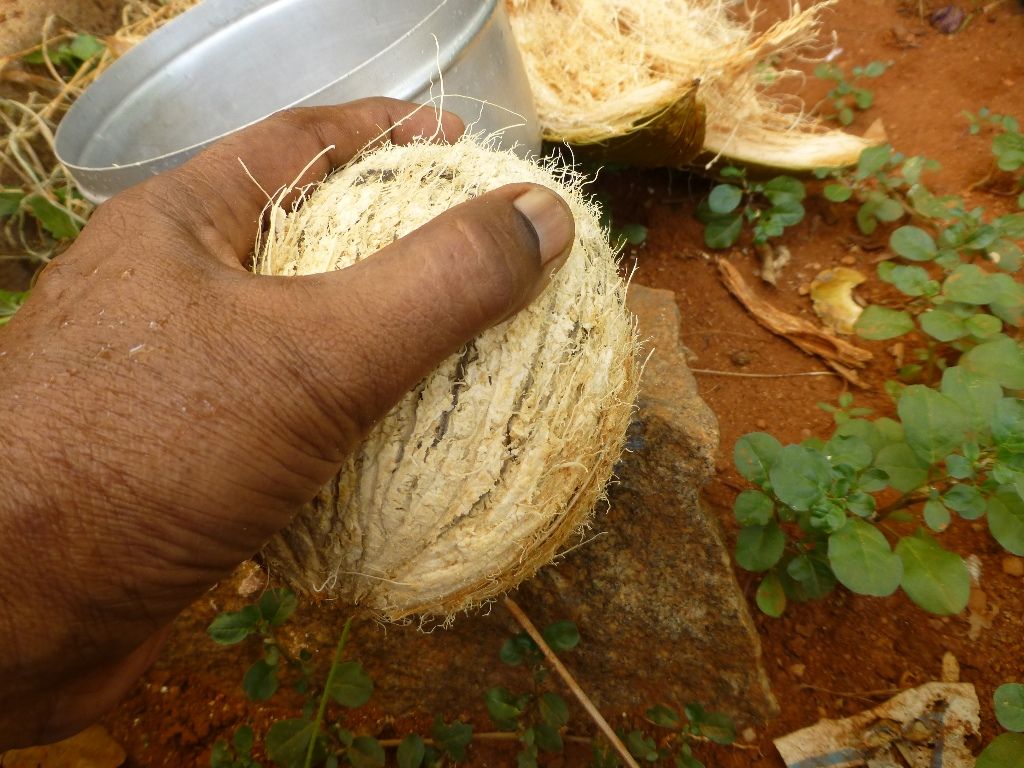
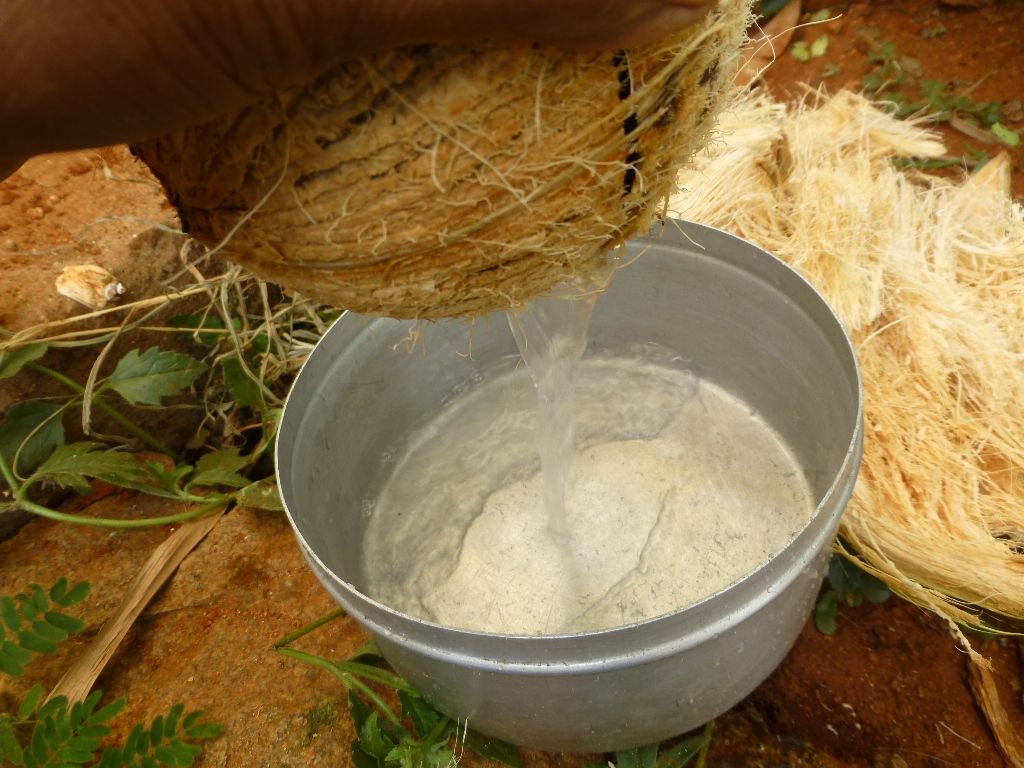
The next step is to take the nuts and crack them open on a jagged piece of rock. The easiest way to do this is to take the coconut in your hand and strike it against the rock. However, if you want to save the water, place a clean container or bucket next to the rock. Depending on how the coconut splits as you whack it against the rock, the water can spill quickly, so it’s important to be ready to quickly move the coconut over the bucket.
You can also tab the coconut with a sharp object and wiggle it around to expand the gash as well. This can help if you are having trouble moving the coconut fast enough over to the bucket or container before it spills out over the rock. However, this method is slower and can be harder on your hands as well.
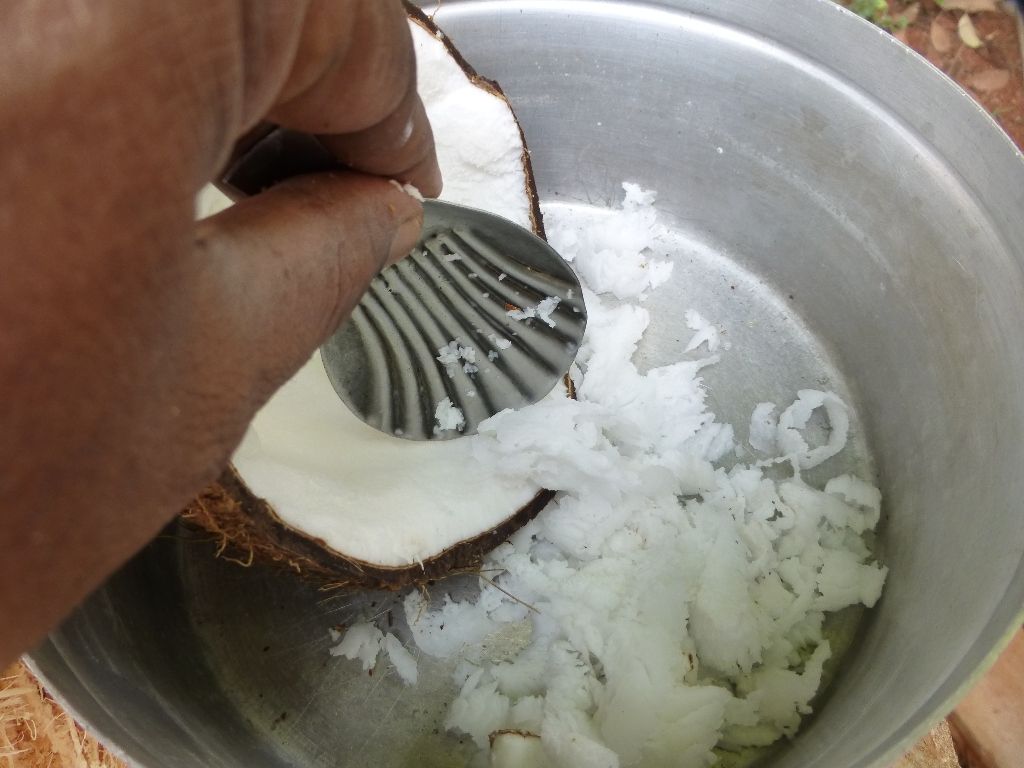
Next, you want to remove the meat from the shell. You can use any sharp object as well as a spoon or scoop to get the job done. The meat will be very tough, and you will end up cutting a lot of shavings and pieces as you work your way around the shell. Experiment with different tools to use to remove the meat in order to make the process as efficient and easy on your hands as possible.
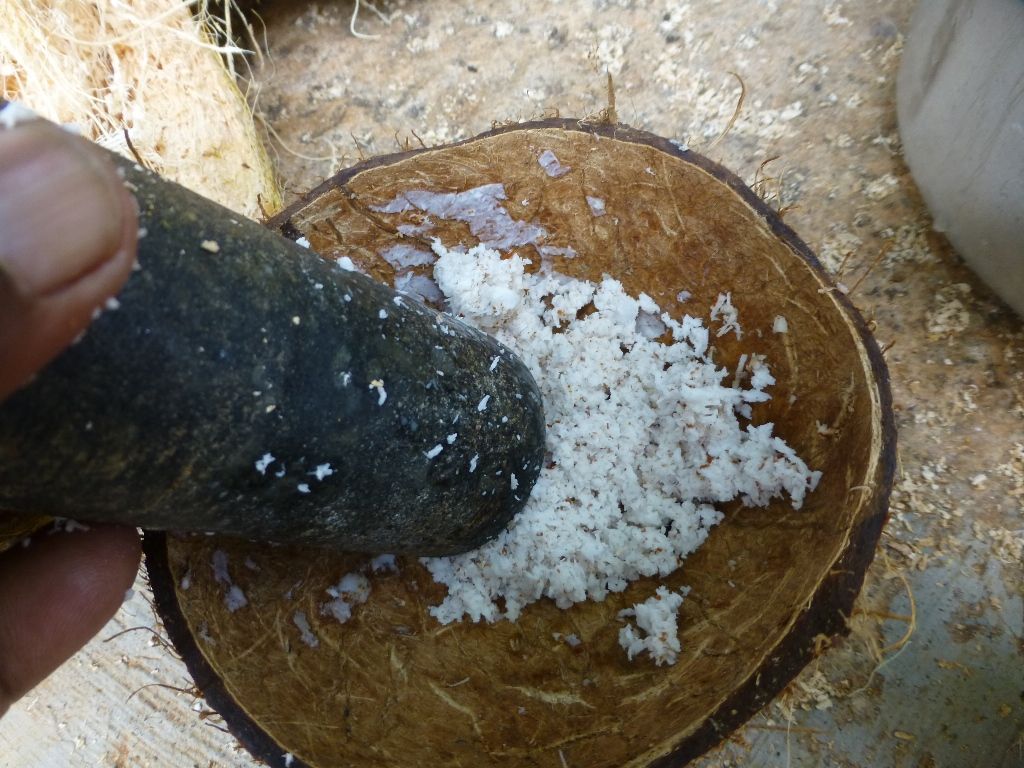
Place the meat on a cutting board or similar surface and start grating it with a rock or other dense object. You want to break down the meat into as many flakes as possible in order to be able to extract as much milk as possible. To extract the milk, simply take a handful of flakes and squeeze it into a ball between your hands. Let the liquid drip into your cooking pan, and keep repeating the process until you’ve extracted as much liquid as you can. You can also use a strainer or cheesecloth and mash the flakes as an alternative. Try different approaches and go with the one that gives you the most liquid with the least amount of difficulty.
![]()
Cooking and Finishing
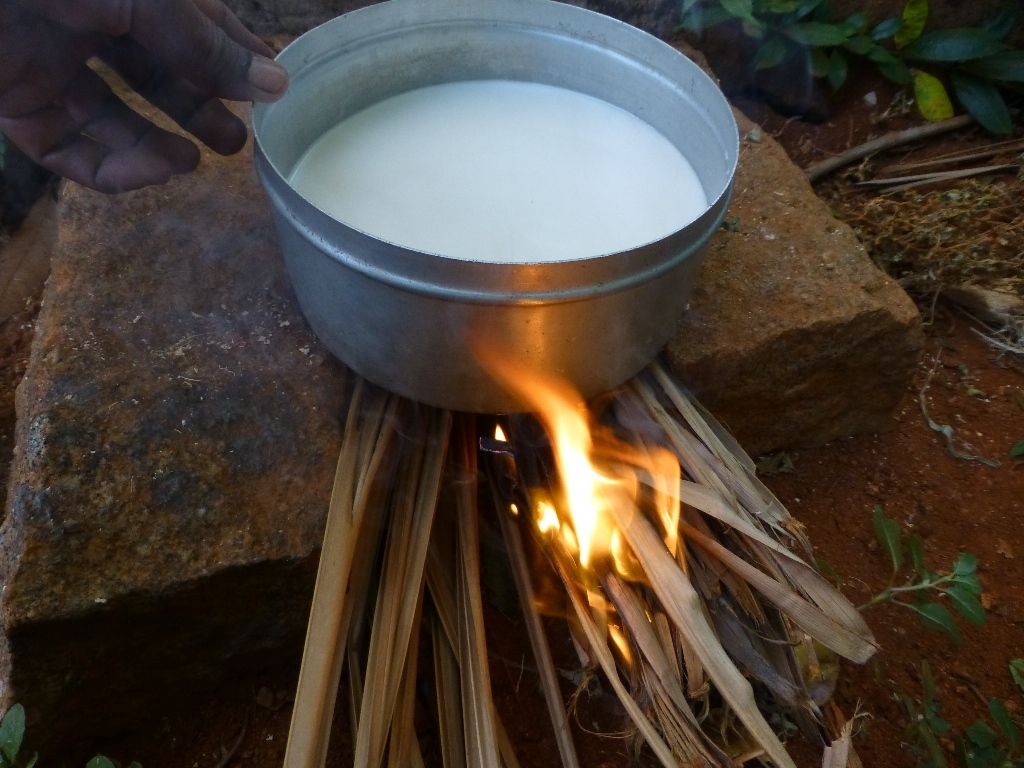
The next step is to cook the liquid down so that the water evaporates and leaves behind the milk and oil. The amount of time that this takes will depend on how much moisture is in the coconut flakes. Place the liquid over a fire and bring to a gentle boil, stirring occasionally as the liquid bubbles. Keep cooking and stirring until all of the water is evaporated. You will be able to tell when the clear liquid on top turns to oil and separates from the solids. Remove from heat and allow the coconut to cool.
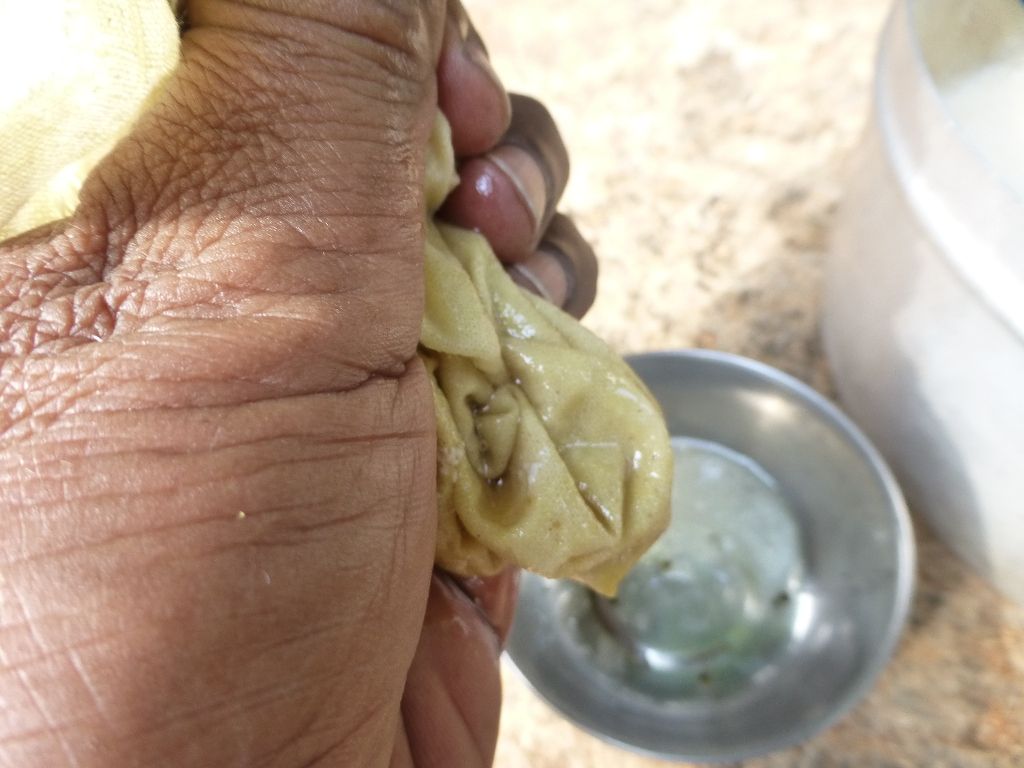
The oil will separate from the solids and create a distinctive layer on top once it has cooled enough. The easiest way to remove the oil is to either scoop it out or take an absorbent cloth and place it atop the solids in the container. Let it absorb the oil and then wring it out over another container. Be careful if you tip the container in order to pour out the oil, as the solids may become loose and mix with the liquid. If this happens, you will need to stop what you’re doing and let the coconut settle before trying again.
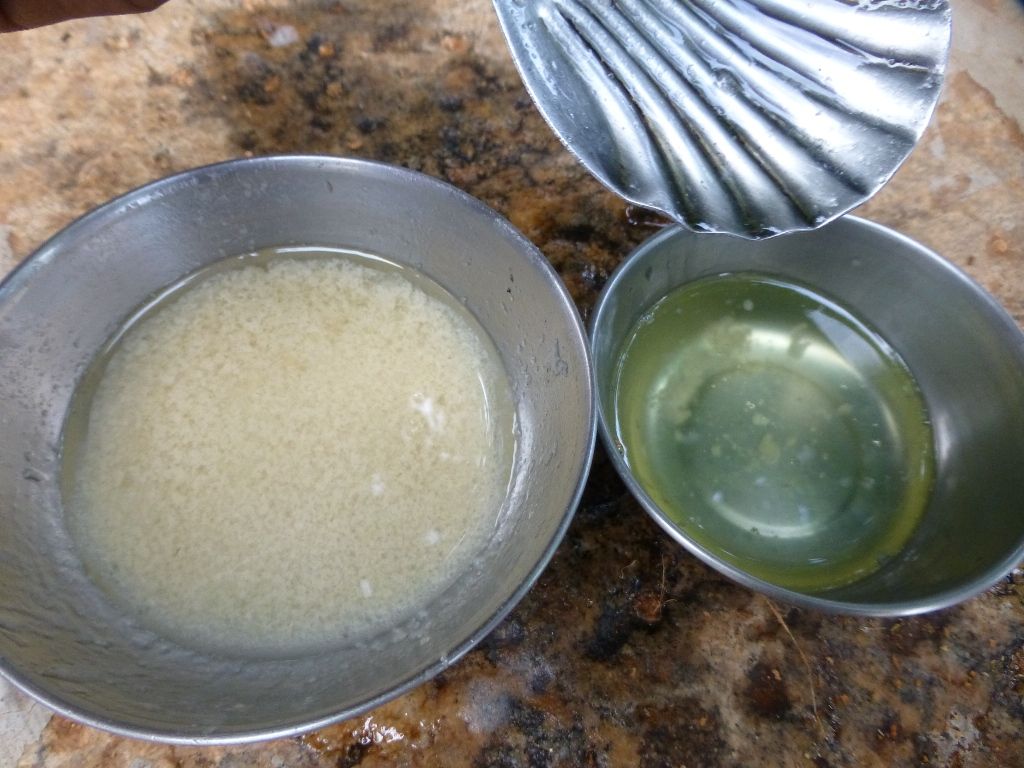
Even after you pour the oil, you will notice that there will still be some particles that settle to the bottom. Let the oil separate once again before either straining it through a cheesecloth or scooping it out. More oil will also accumulate in the cooking pot over time as well. Make sure to check back the next day to see if you can harvest a little bit more.
Store the pure oil in a container with a good lid and use as necessary.
While this may seem like a complicated process, it really isn’t, especially after you’ve done it once or twice. Try it for yourself the next time you are near some fresh coconuts, and it won’t take long to see why having this skill can be so useful in the field.