How to Can Fresh Apples the Easy Way
Did you know that you can use a pressure canner to process apples for long-term storage? Apples are one of the most nutritious fruits out there. Adding them to your stockpile can significantly enhance your dietary options during a SHTF or off-grid scenario. Take a look at the recipe below, and see how easy it is to make a batch in a few easy steps.
![]()
Preparing the Apples

You can use any type of apple you prefer, as long as you remove bruised or defective parts before canning. Store-bought apples tend to be easier to work with, because they don’t have a lot of divots or imperfections that are found on local trees. The first step is to rinse and peel the apples, and remove the pips. Cut the apples into large chunks, place in a large stockpot and give them a second rinse to remove any remaining debris.
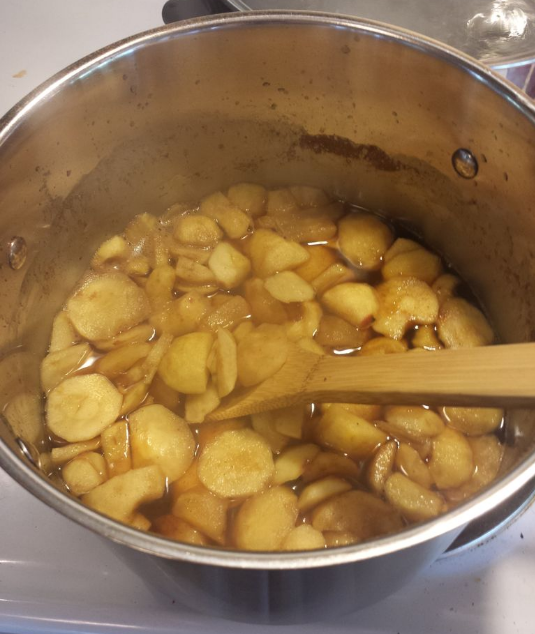
Next, pour a bottle of 100% apple juice into the pot and add the apple pieces. Bring to a low boil for a minute or two. This will help to prevent the apples from turning brown while also adding some sweetness to the product. You can also add seasonings or spices to the apples if you like as well. Common options include allspice, cloves, cinnamon, nutmeg and non-refined sugar. Feel free to experiment until you find the best flavoring, or you can also skip this step altogether.
You can also blanch the apples in plain, filtered or purified water instead of juice if you want to keep the sugar content to a minimum as well. No matter what you decide, blanch the apples for about 5 minutes.
![]()
Processing the Apples
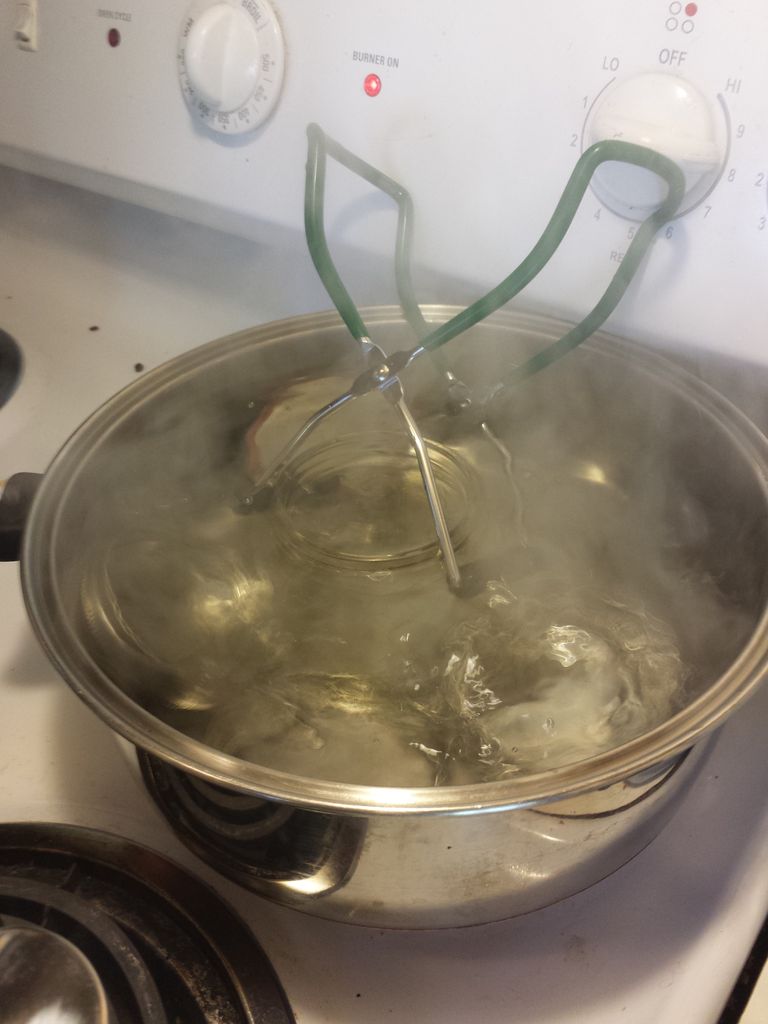
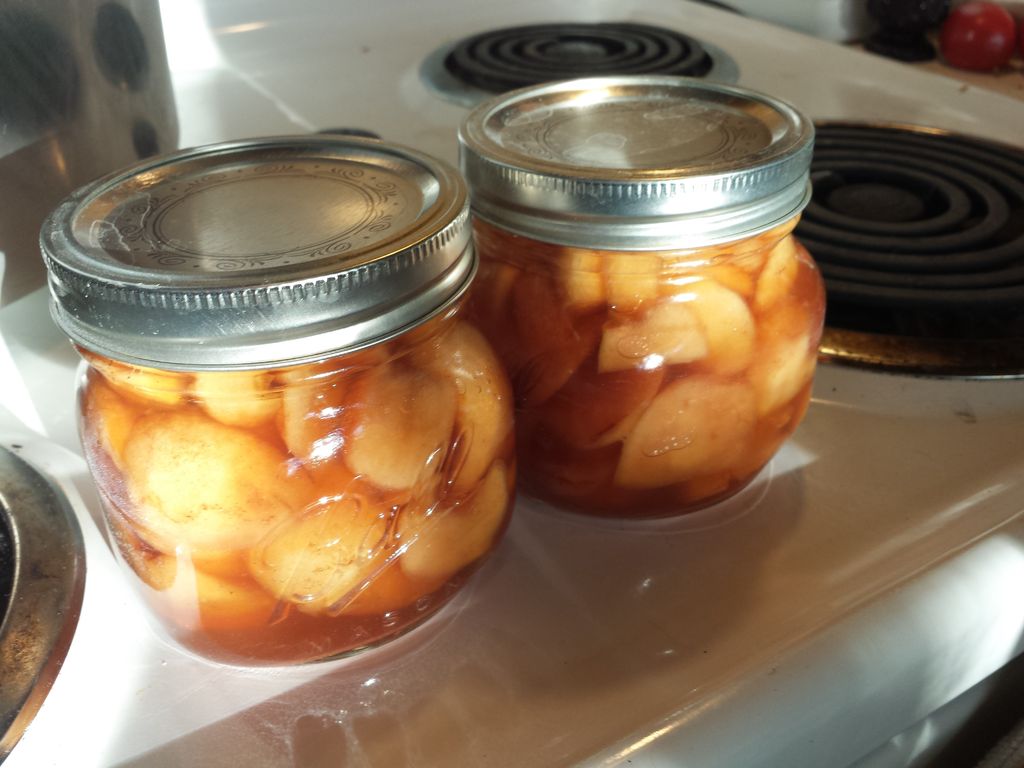
Make sure to prepare the canning jars by boiling and sterilizing them before you add the apples. You also want to add the apples and juice to heated jars in order to minimize cracking or breakage.
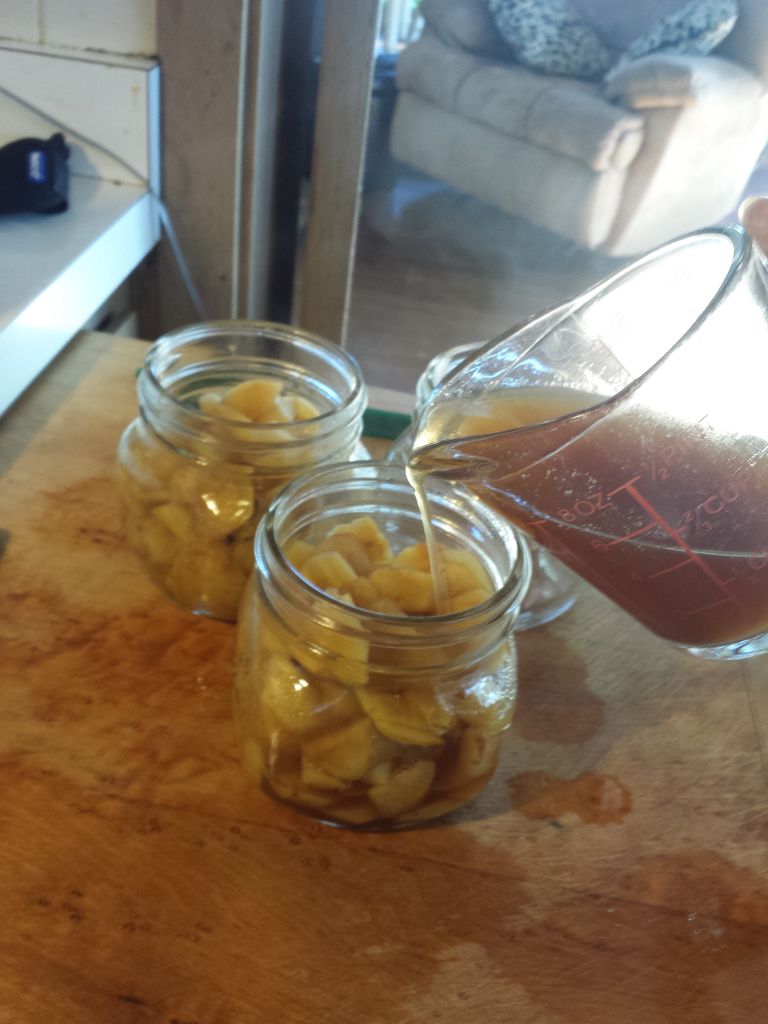
Transfer the apple slices into the canning jars with a slotted spoon or ladle. Fill until they reach ½ to 1 inch from the top. Add the blanching liquid into each jar and remove as many air bubbles as possible, leaving ½ inch headspace. Make sure that the apple pieces are covered with the liquid before wiping the rims, attaching the lid assemblies and placing the jars into the pressure canner.
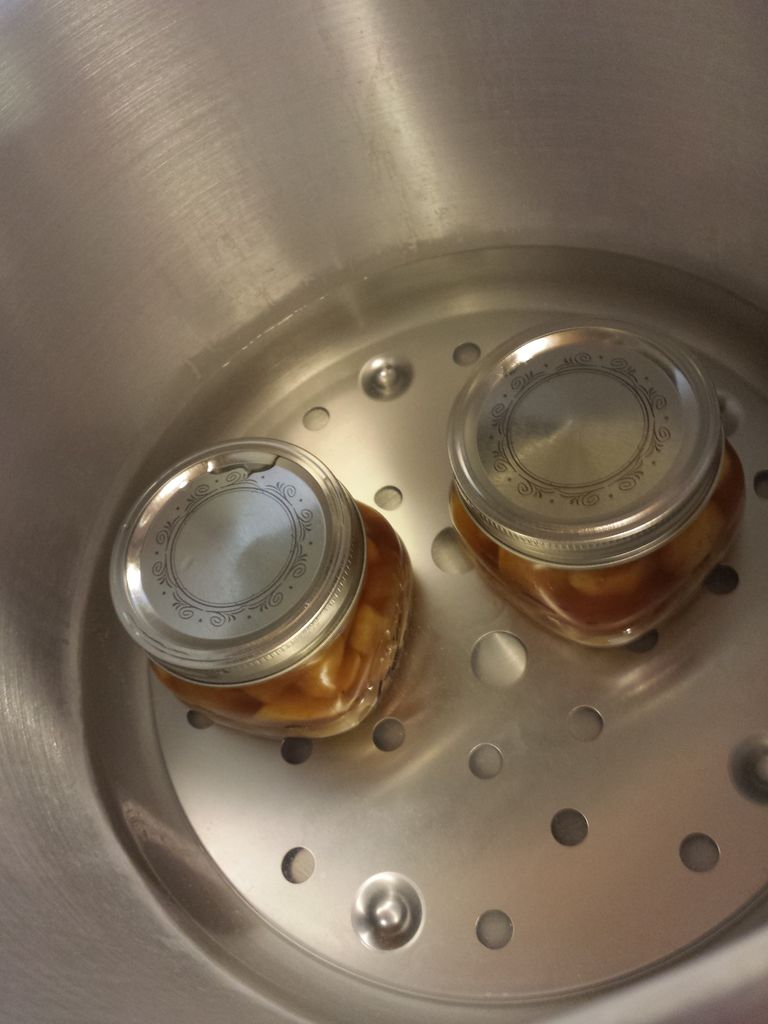
Pressurize the canner and process the apples for about 10 minutes. Remember to start timing once the canner has reached optimal pressure, and adjust times for altitude. Remove the canner from heat and allow to depressurize before opening and removing the hot jars. Place them on a towel or rack on the counter and allow to cool to room temperature. Check the lids and seals before labeling and dating the apples. Store in a cool, dry place and expect to eat the apples within a year.
One of the biggest advantages to using this method as opposed to making applesauce is that you’re not fully-cooking the apples into a mush. This can arguably preserve some of the nutritional content of the apples, while also making them a bit more “filling” when eaten later. Don’t overlook the benefits of canning fruit for long-term storage, and apples should be on top of your list.